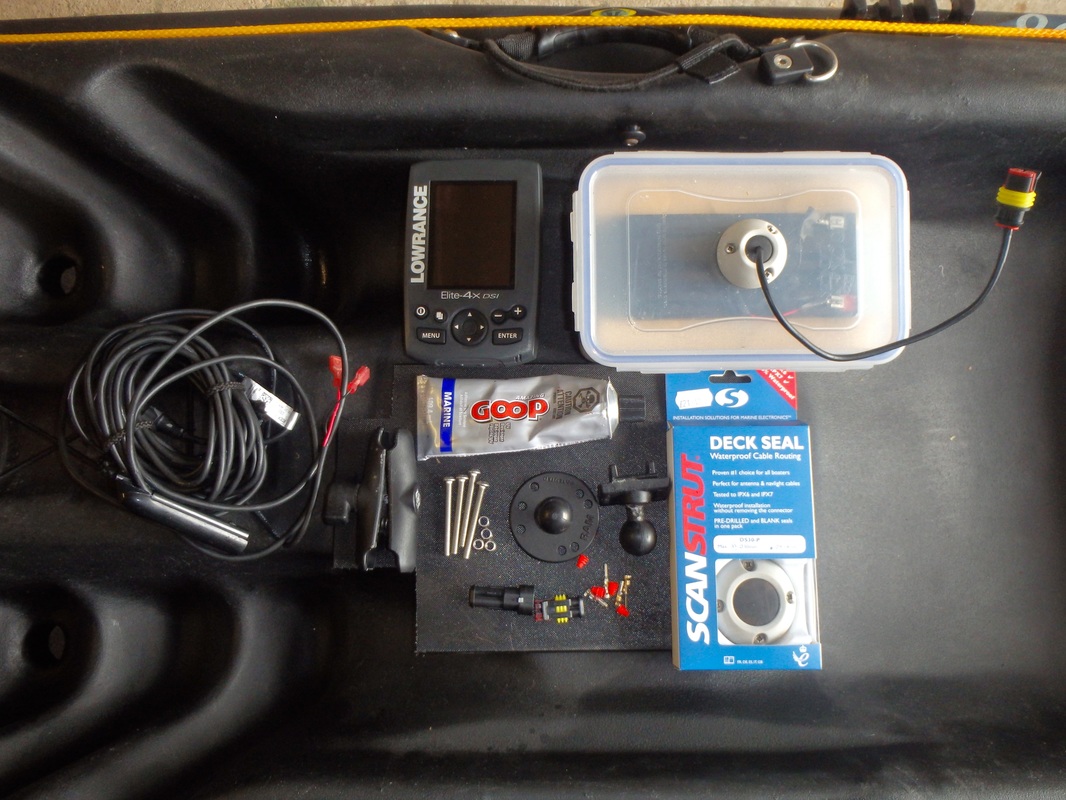
Components used in this installation:
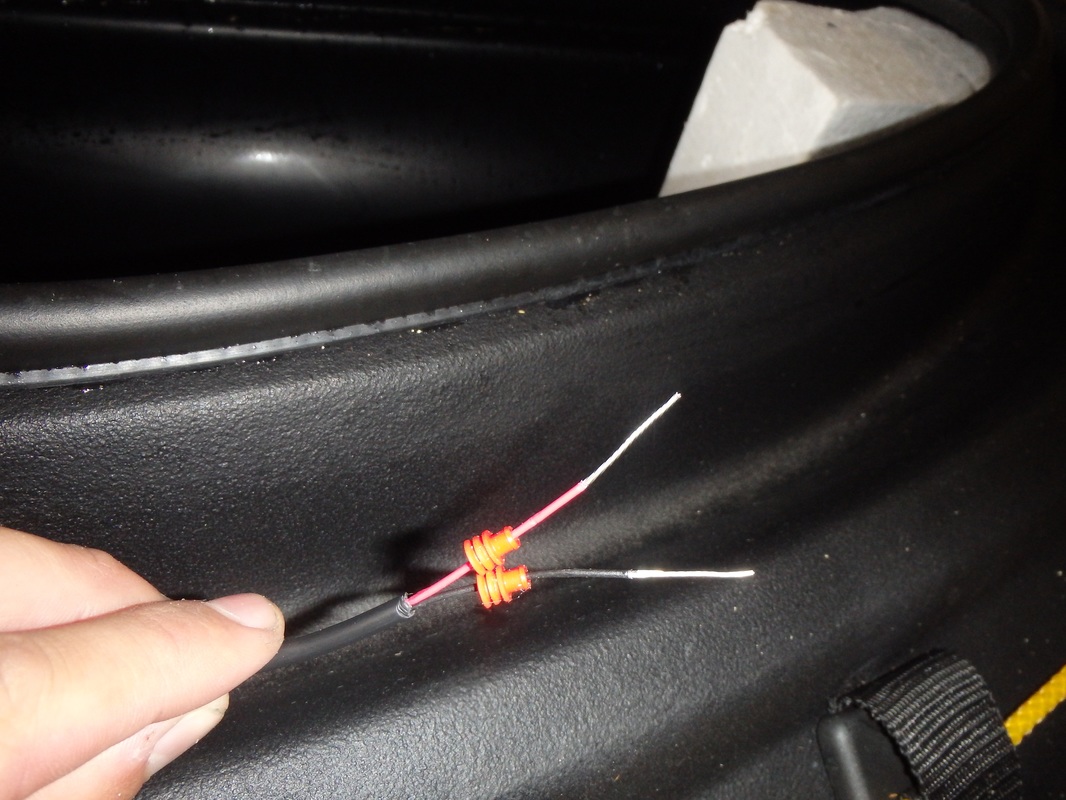
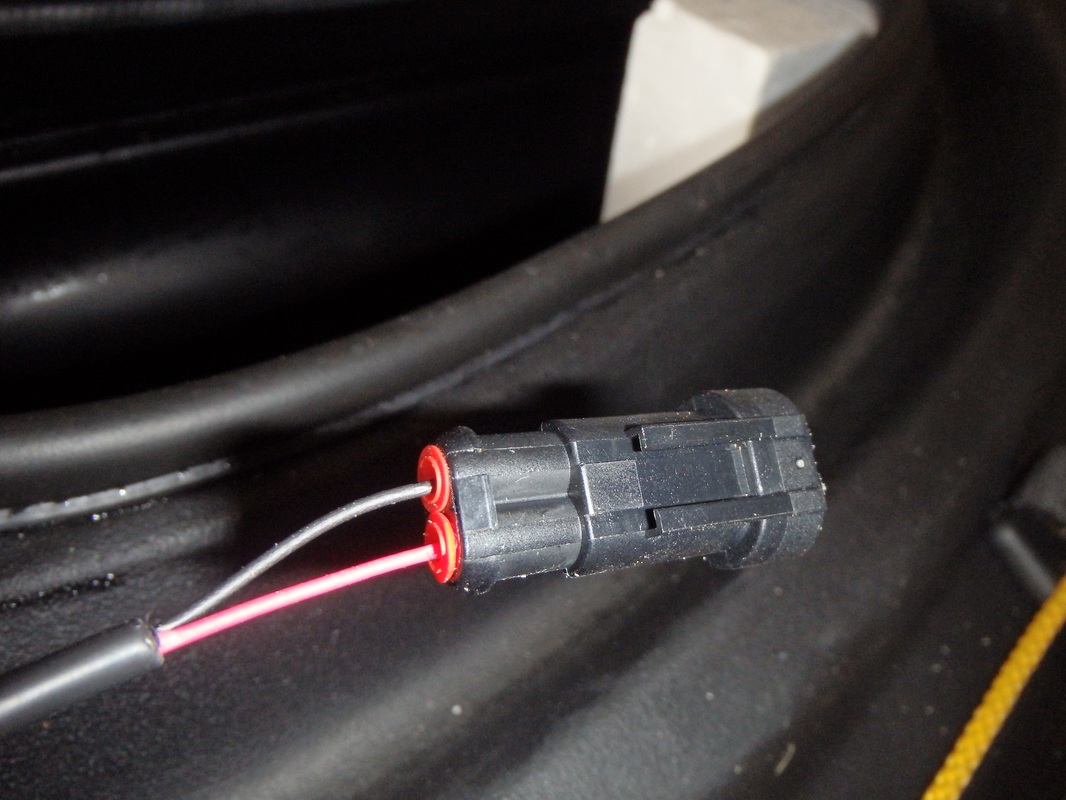
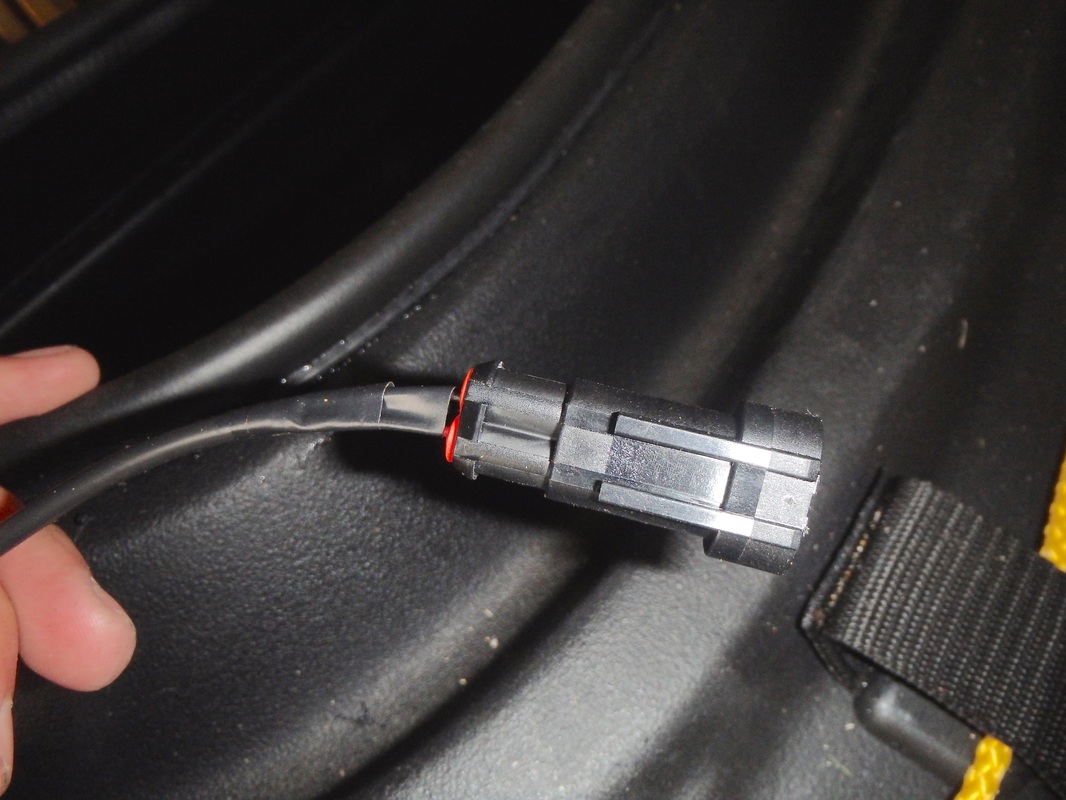
 Step 1 - Making a Waterproof Battery BoxI made a waterproof battery box for the Dragonfly install and made it so it could be transferred between kayaks and fish finders using a Superseal connector. Detailed instructions of how i made the battery box can be found on the following linked blog post: Installing a Raymarine Dragonfly 5-Pro. Note: if you are building the battery box for a Lowrance unit the power lead comes with insulated female spade end connectors already fitted. It is just a case of cutting the power lead around 12-16" from the end and fitting the male end of the super seal connector. 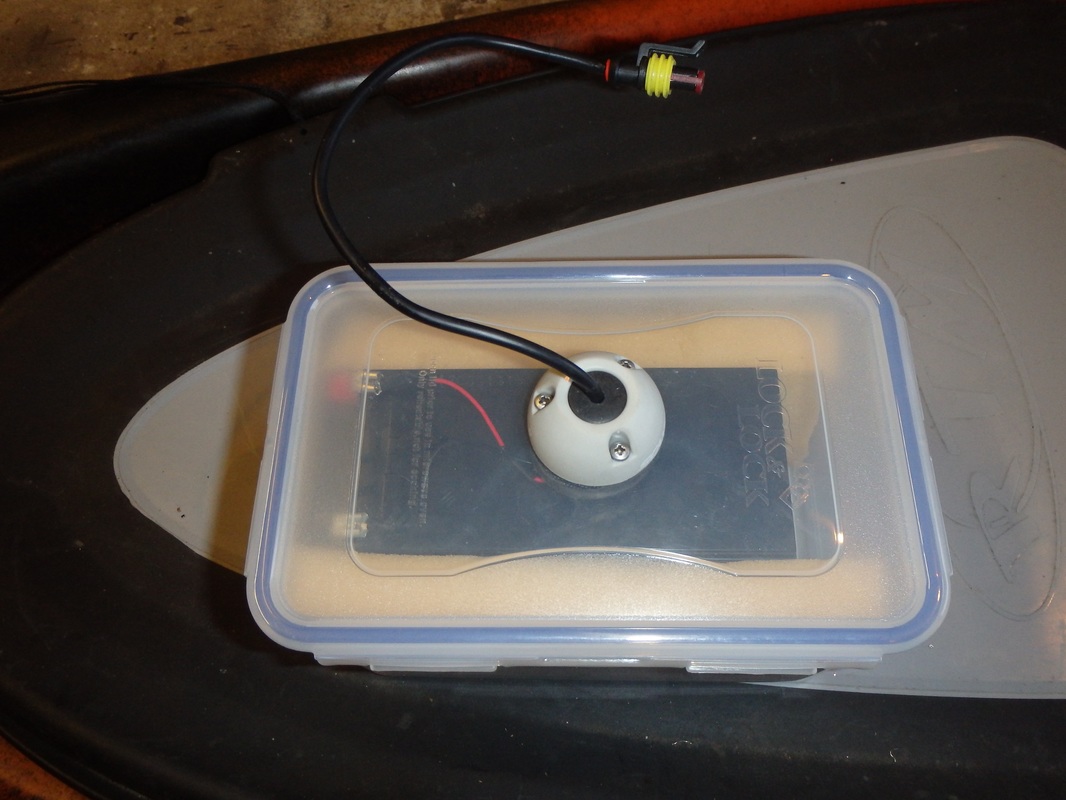 I only needed to fit the female end of a super seal connector to the power lead of the Lowrance so that it would be compatible with the battery box....easy! Cut the power lead, strip back around 1" of the wire, slide on the rubber seals, crimp the male connectors onto the wires and plug these into the back of the female connector. A piece of insulation tape tidies things up.
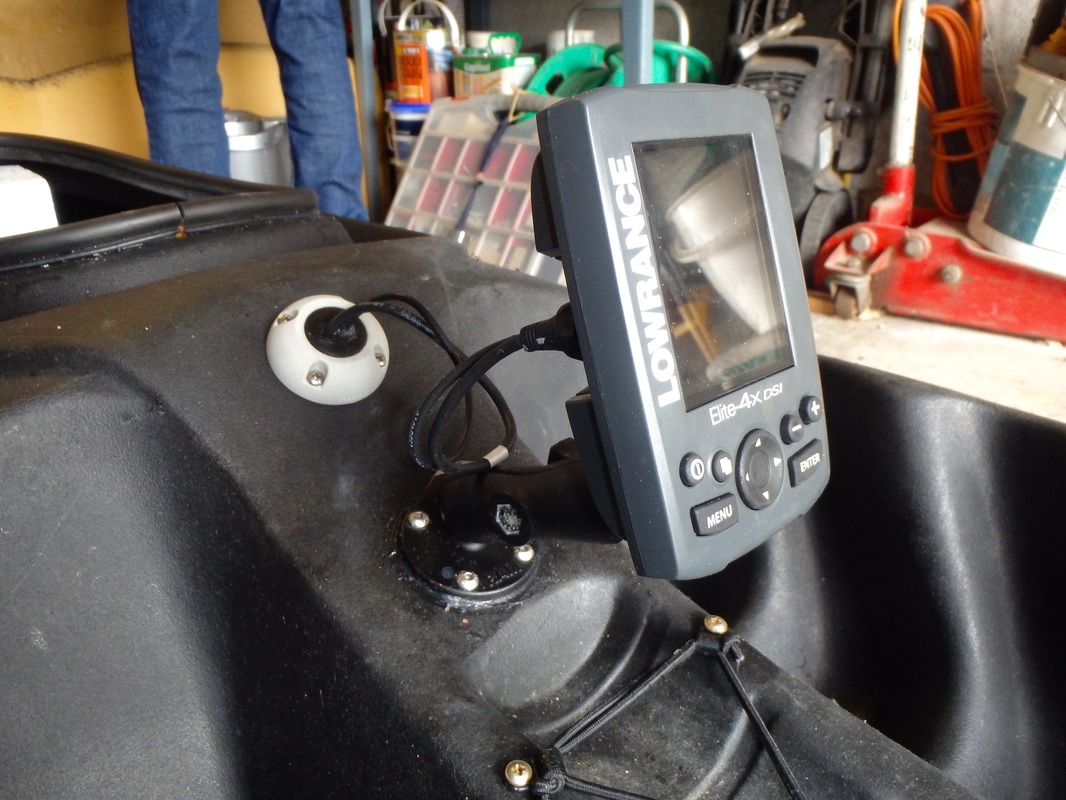
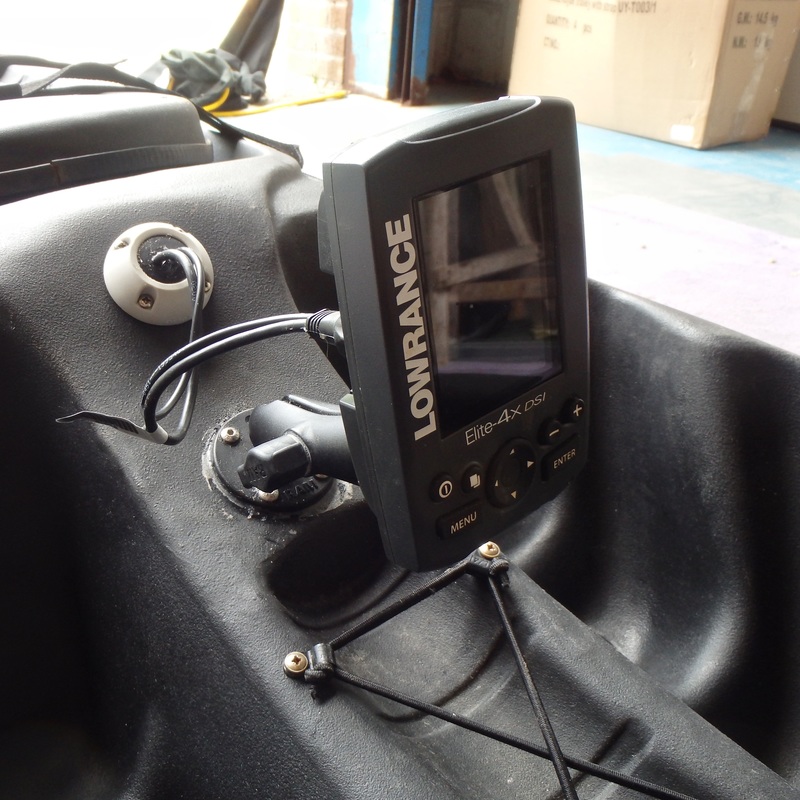
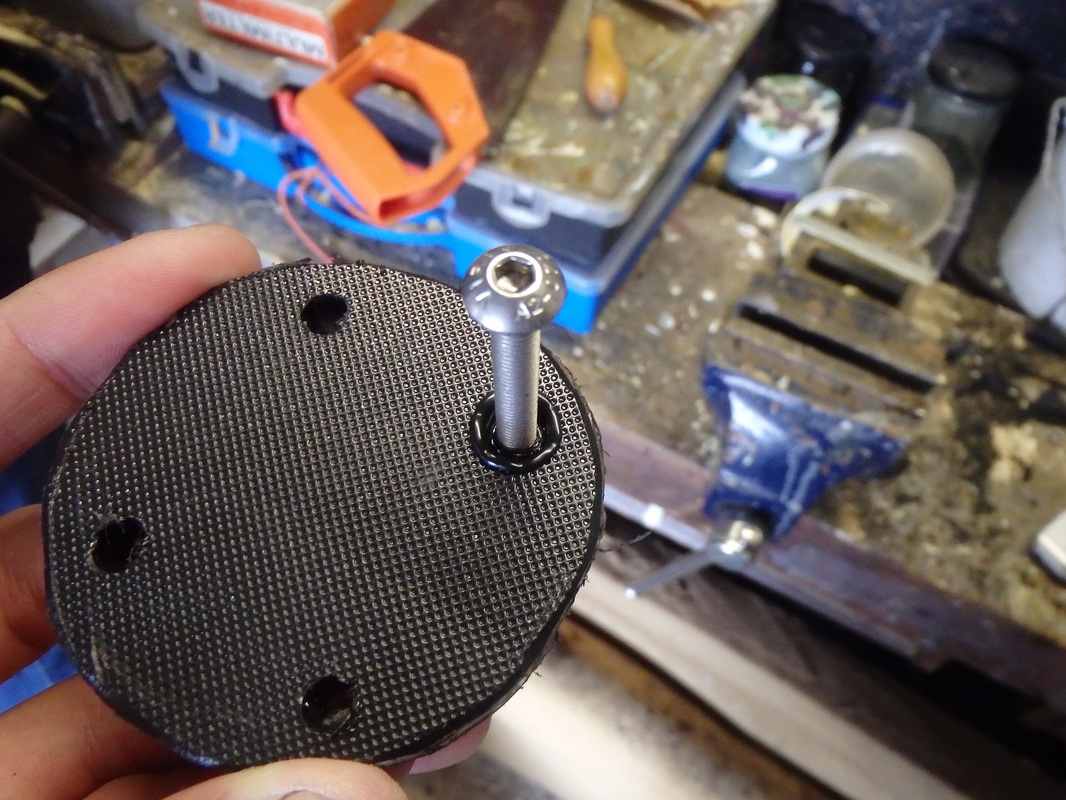
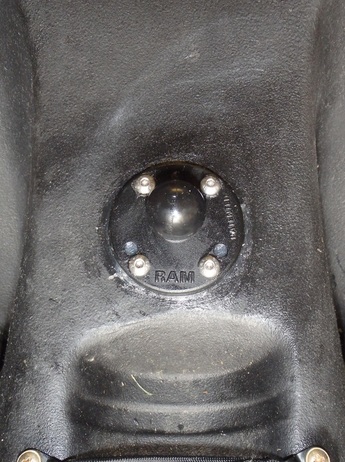
Step 2: Making a Battery Box HolderI came up with this idea for the Dragonfly install in the Abaco and really like how it holds the battery in place inside the hull. I built a near identical one for the Tempo except i done away with the cable storage hole as the Tempo has a handy gap beside the front scuppers to hide the cables away. Full instructions on how to made one can be found on the following linked blog post: Installing a Raymarine Dragonfly 5-Pro. 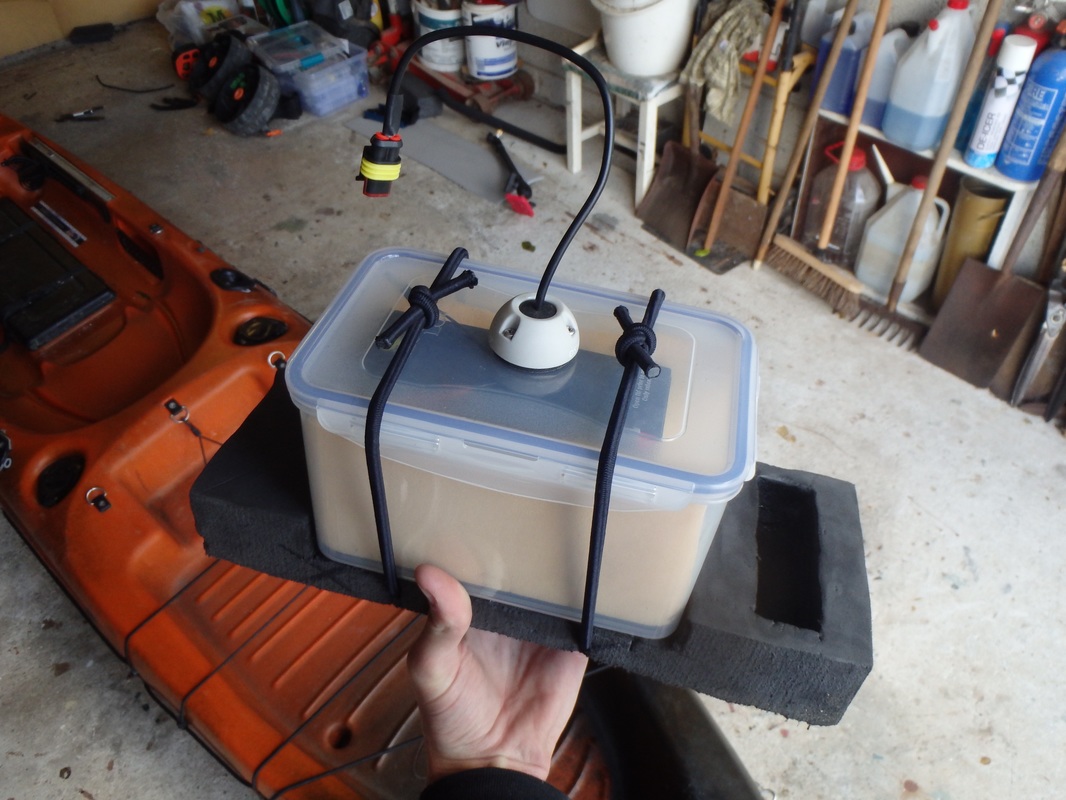 Here is it inside the hull of the Tempo - this is glued in place AFTER the transducer is glued inside the hull (Step 4)  Step 3 - Mounting the Lowrance Elite 4x-DSI Head UnitLowrance units come with their own mount but i wanted to utilise the Ram mounting system specific for Elite-4 units (RAM-B-101-LO11) that i had used when it was on my Abaco. This comprises of a RAM 1" Ball Round Base with AMPS pattern, a RAM Double Socket Arm for 1” ball and a 1" ball Elite-4 adaptor that plugs into the back of the Elite-4 unit. I wanted the fish finder mounted in the centre of the footwell just forward of the drinks holder 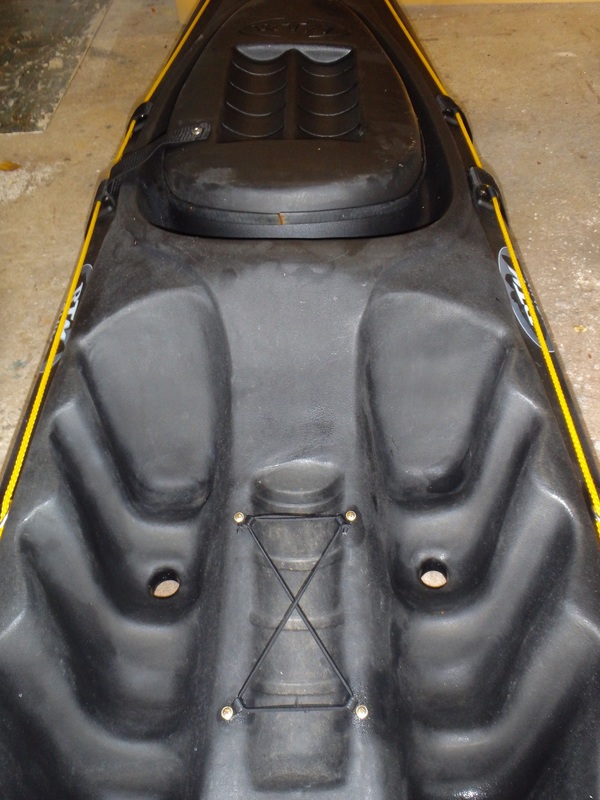 Holes were drilled for 4 fixing points 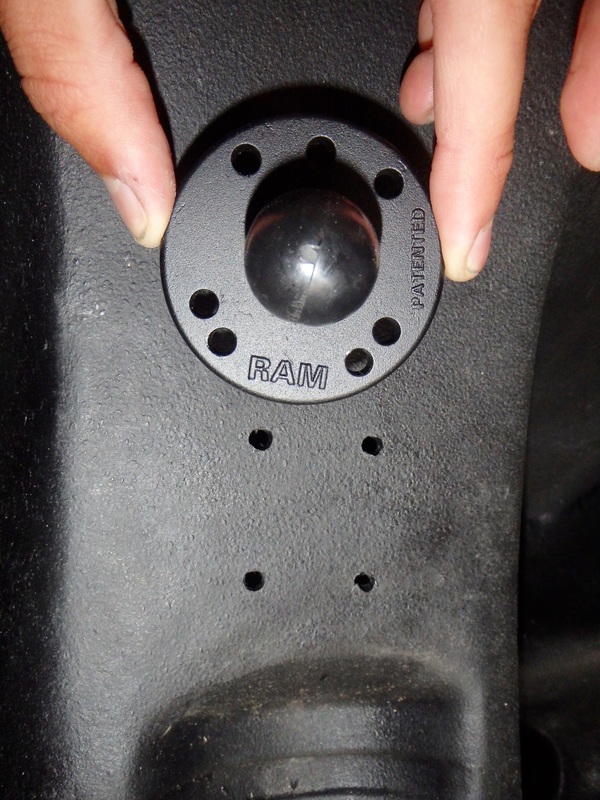 I decided to use stainless steel bolts with a chopping board backing plate with countersunk nuts. I could have used marine trifold rivets but prefer the backing plate method for strength. I used the base as a template to cut out a circle of chopping board then drilled holes in identical positions to those on the kayak. 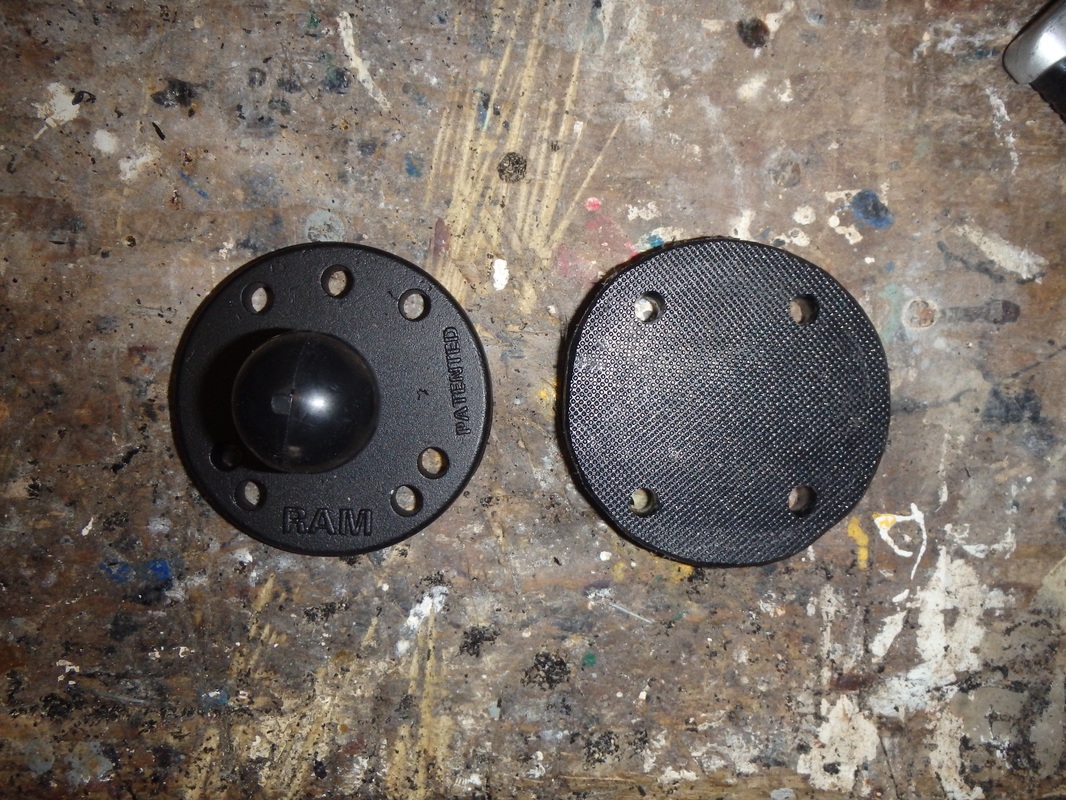 I countersink the nuts into the chopping board by melting them in but you could equally just use washers and nuts against the chopping board or kayak hull. To countersink the nuts i thread them onto a bolt and heat them up using a lighter. 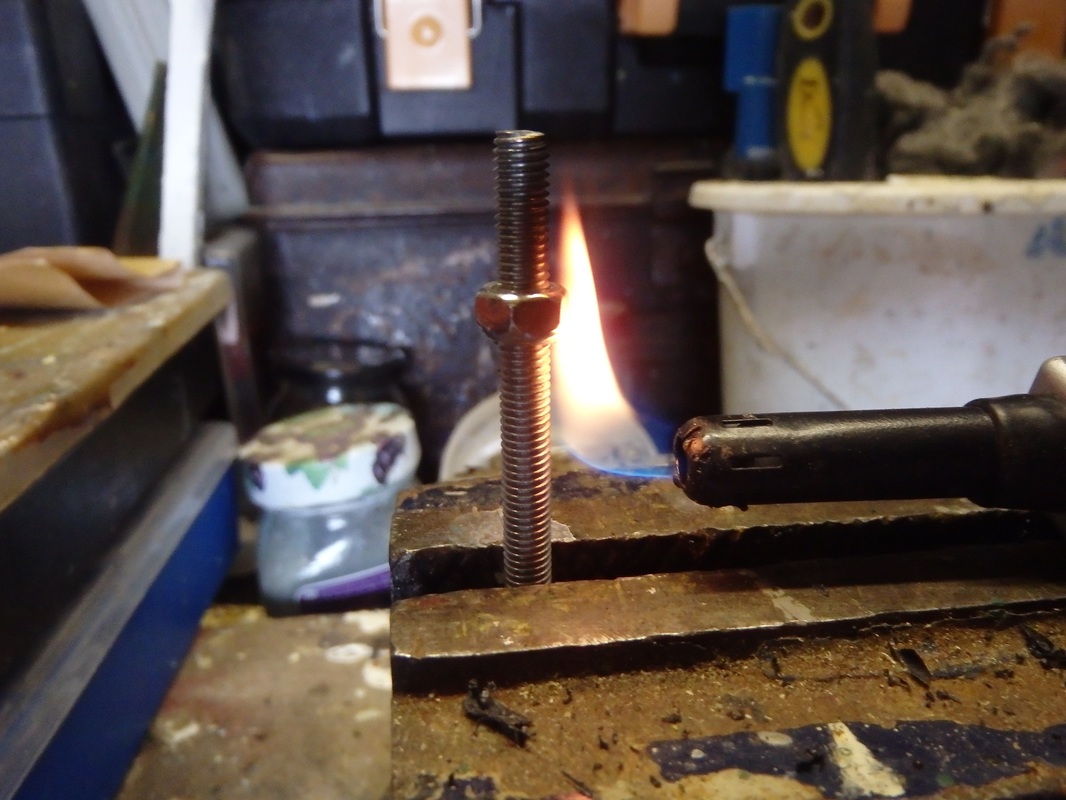 These are then pushed into the holes to melt the bolts into the chopping board, just be careful not to push them all the way through. The bolts will be red hot so use pliers or keep the bolt in a vice and push the chopping board down onto it. Once they are countersunk plunge it all in cold water to solidify the plastic. Then its just a case of unscrewing the bolt and repeating for the other 3 holes. Its quite time consuming and there is a knack to it but once you get the hang of it its quite easy.
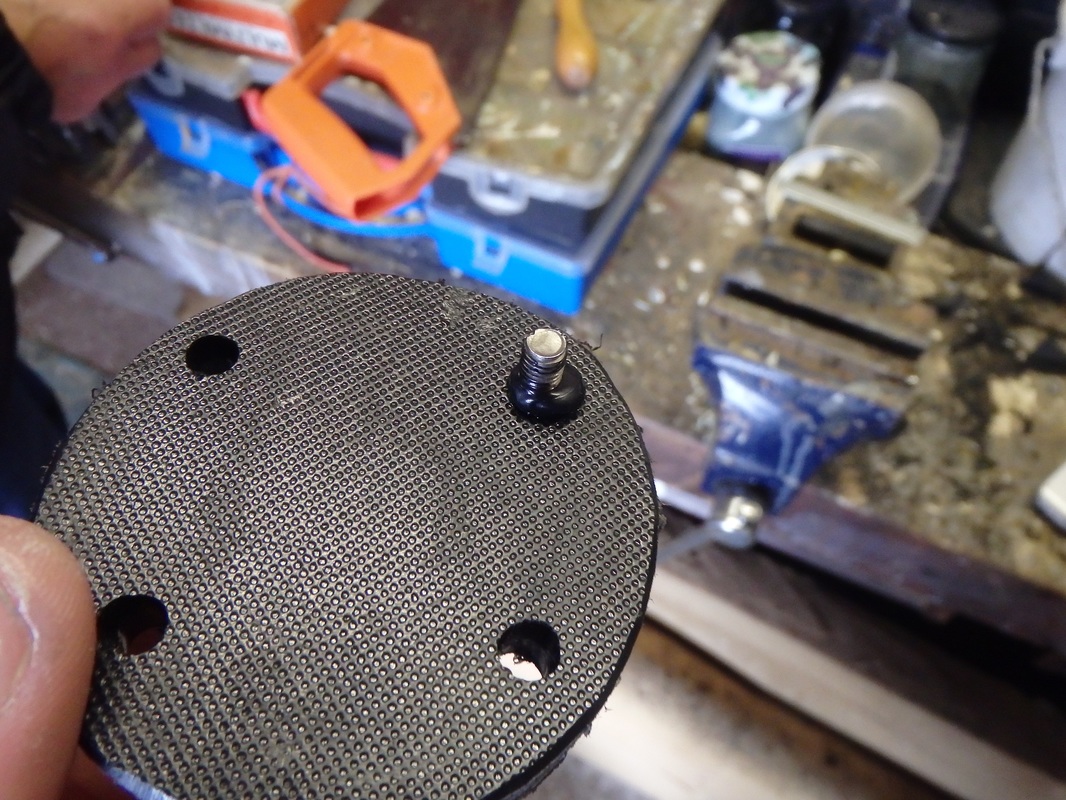
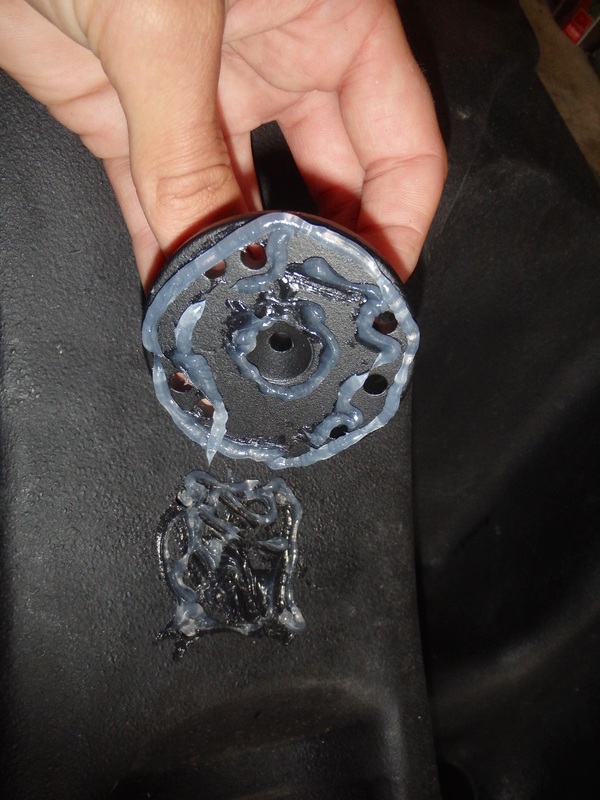
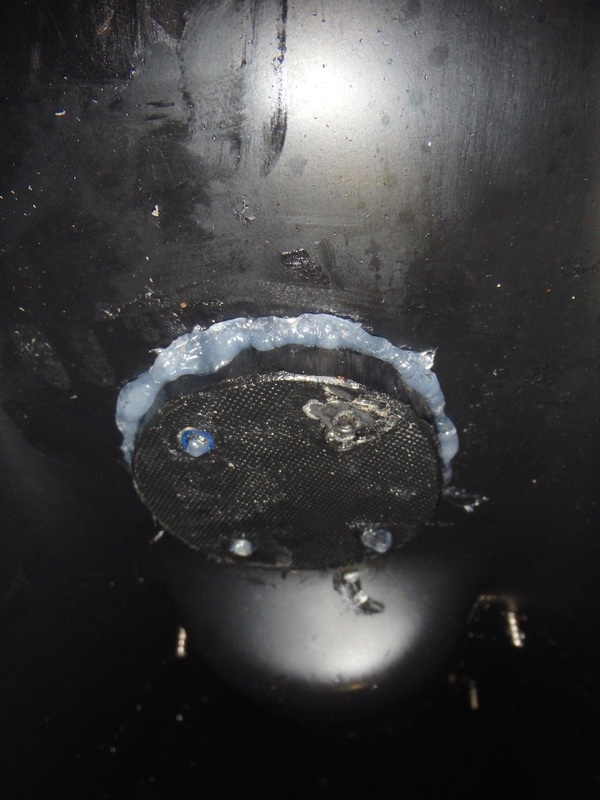
Excess plastic can be filed away for a tidy finish. The bolts also needed to be cut down so that they are flush with the board when fixed in place. 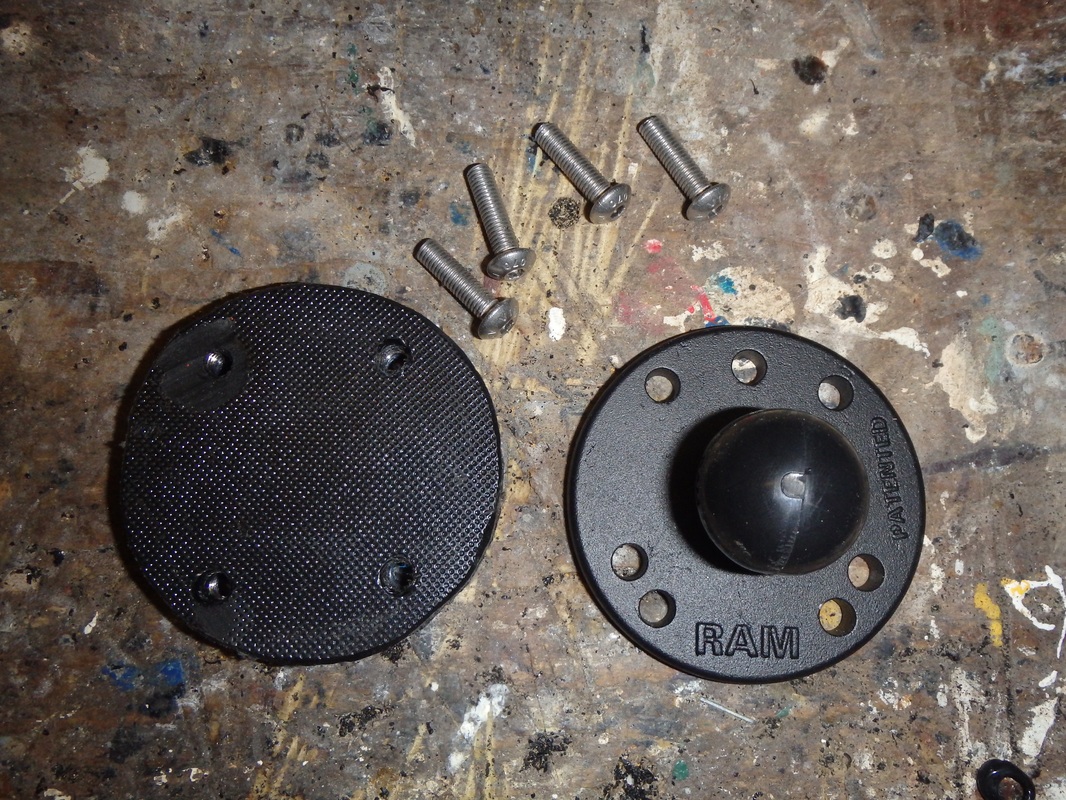 Time to fit it to the Tempo - all the holes and the nuts should line up. A good covering of clear silicon over the base of the Ram ball and on the kayak for a waterproof seal. Excess can be neatly wiped away with a wet finger. Plenty of silicon on the backing plate too.
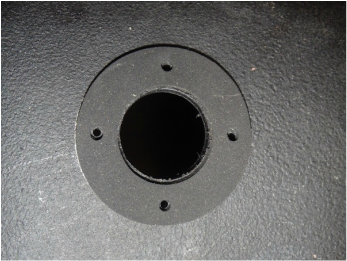
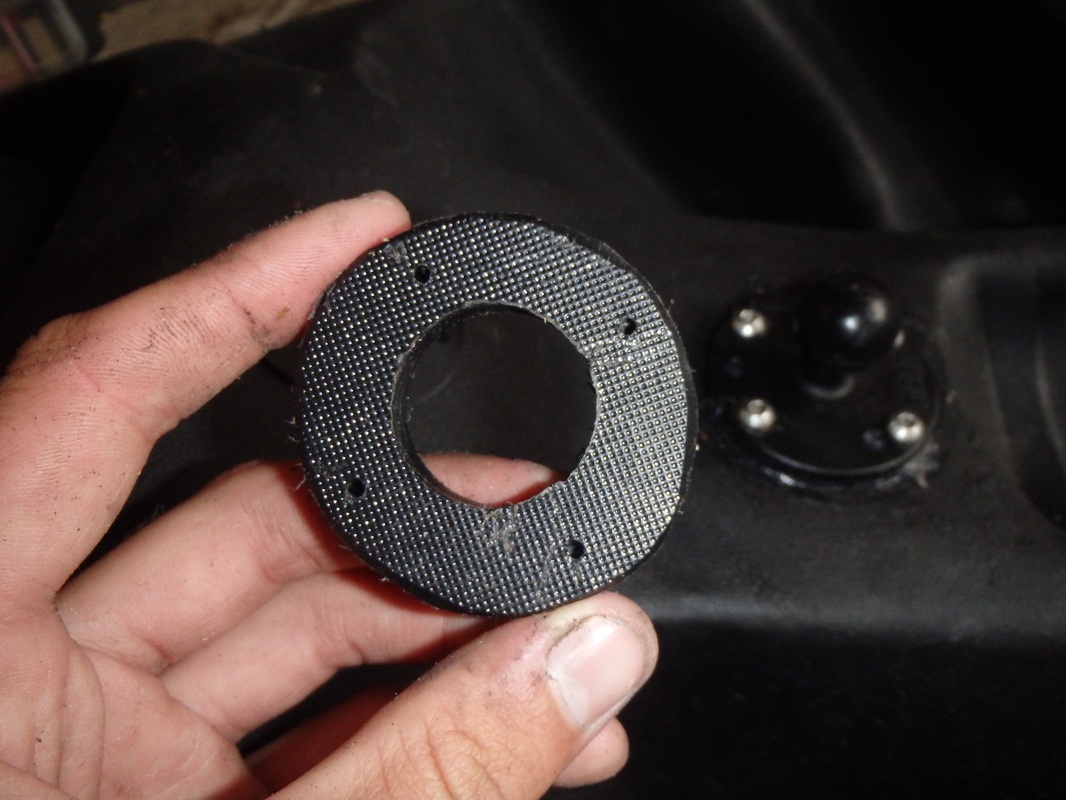
As previously said trifold rivets or stainless steel bolts, washers and nuts would do the job fine - i just like the chopping board backing plate method. The cables from the transducer and battery must pass through the hull of the kayak to plug into the back of the fish finder. For a waterproof seal i have routed my cables through a Scanstrut Deck Seal DS30-P. I decided on placing this towards the top of the central partition between the footwells. Any small flat area towards the bow end of the footwell are popular places to position a deck seal. A hole is drilled that is large enough to pass the fish finder transducer/power cable connector through. 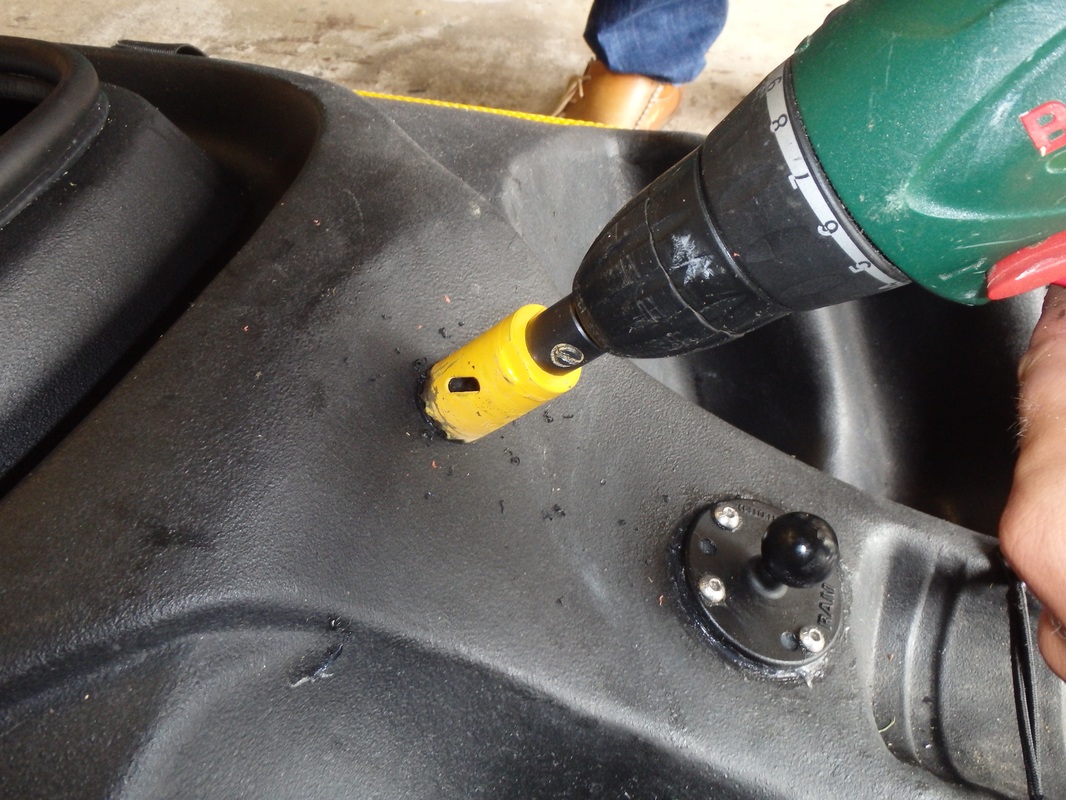 Next i assembled the the base of the deck seal, using the holes in the foam gasket to drill pilot holes in the kayak. I made another chopping board backing plate to give the screws something extra to screw into giving a stronger hold.
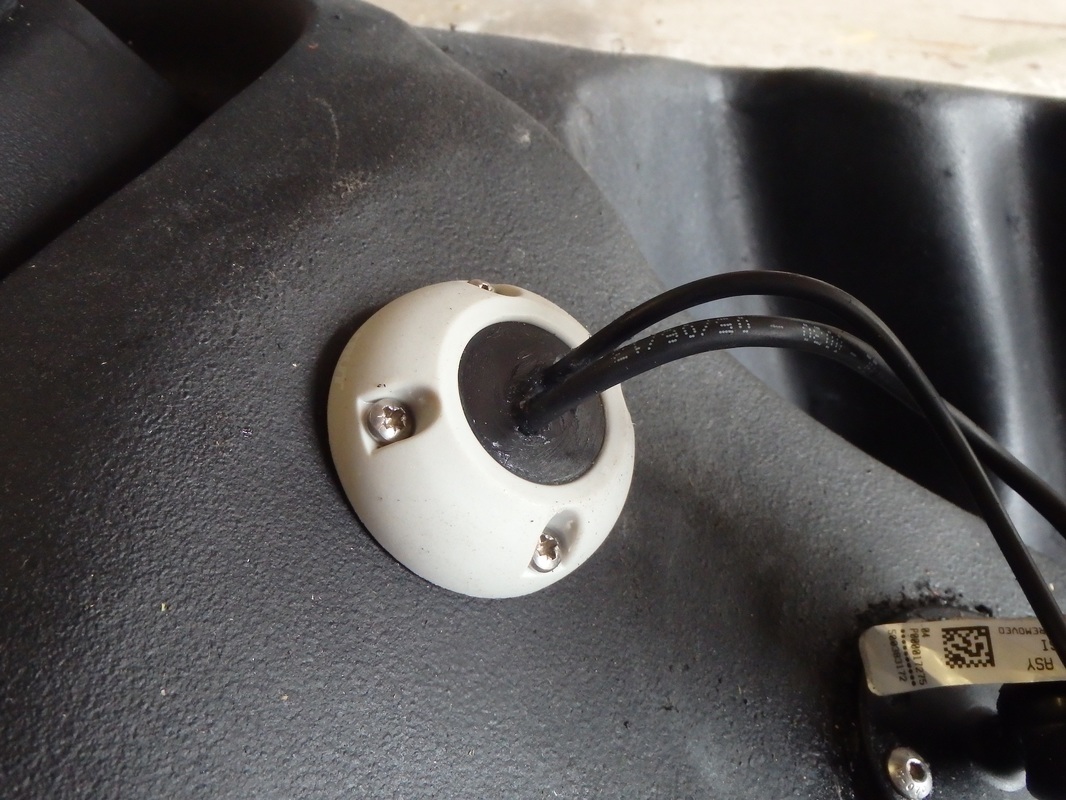
The pre-drilled holes in rubber blocks supplied with the DS30-P deck seal are too large for the power and transducer cables on the Elite-4 so i have drilled two holes in the blank block just slightly smaller than the cables. When this is clamped down under the deck seal cover it will wrap around the cables tightly forming a waterproof seal. A dab of marine goop or other sealant can be smeared around the cables and over the deck seal to fill any small gaps where water may ingress. Ensure there is enough cable outside the hull so that the connector plug can reach the back of the fish finder with some slack so that the connection isn't under stress and so that the fish finder can be moved on its mount.
  Step 4 - Installing the Transducer in-hullThere are 3 main methods to install a transducer on a kayak:
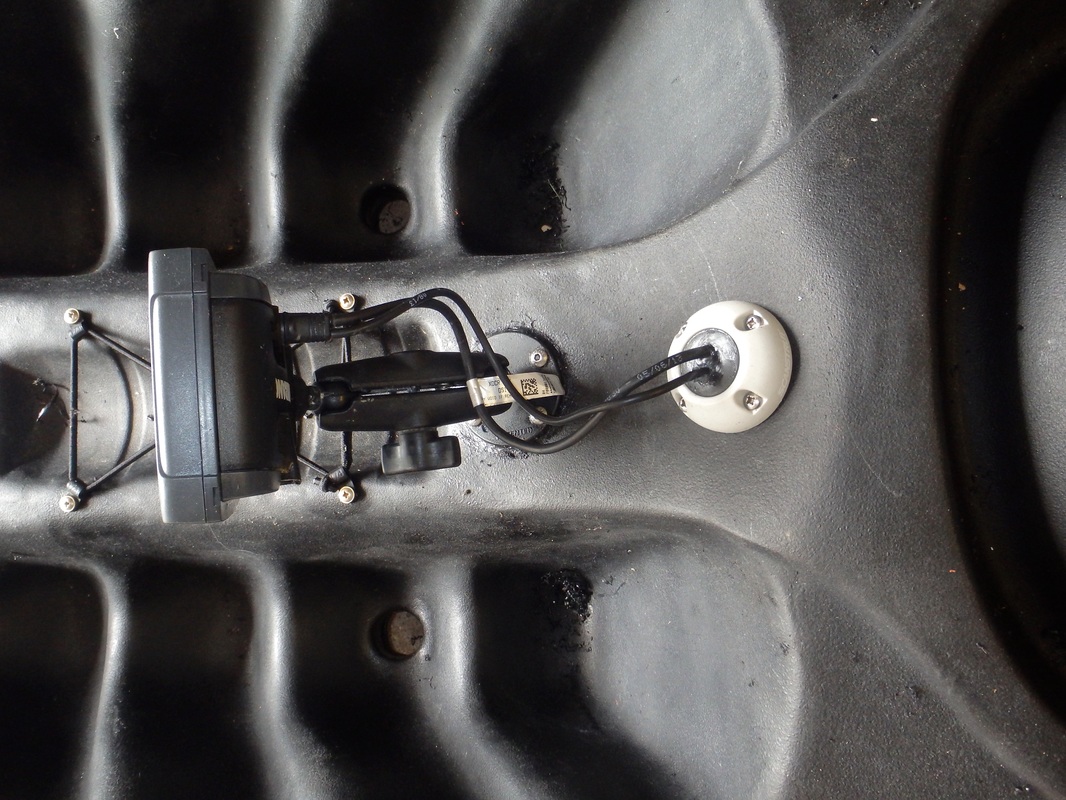
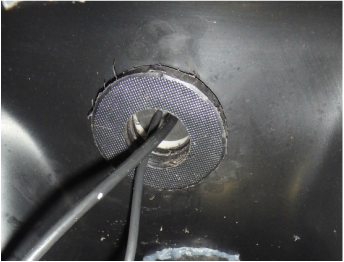
The Tempo does not have a dedicated transducer scupper hole and i did not want to compromise the speed of the Tempo using a transducer arm so opted for in-hull mounting using Marine Goop. I used this method for mounting the Dragonfly transducer with excellent results. The transducer needs to be pushed down into a big blob of Marine Goop on the keel line of the hull but you MUST ensure no air bubbles are present in the glue before pushing down the transducer. Air bubbles causes interference with the sonar reading. Practice building up a blob of marine goop on some scrap cardboard or wood so that you know how best to apply it. I found that squeezing the goop out fast seemed to prevent any bubbles from getting into the goop I used a rectangle of foam with a hole cut in the centre as a well to hold the marine goop. The foam well was glued in place first before filling carefully with Marine Goop. I filled the well around 5mm deep. Even after practicing you may get a couple of small air bubbles present in the glue - use the sharp end of a cable tie or something similar to scrape the bubbles out of the blob and use a small torch to illuminate the glue so that you can easily see where they are. 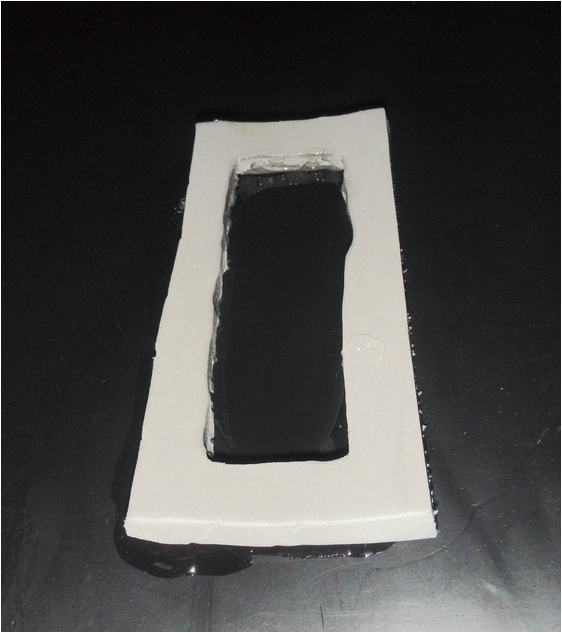 The next part was tricky - when i pushed the transducer into the goop it kept wanting to sit at an angle. To keep the transducer in the right position i used a couple of small rocks as weights to keep it in position while the Marine Goop set. The Goop needs to be left for 24-48h to cure before use. Once i was happy that the transducer had been glued in successfully i glued the battery block in place. 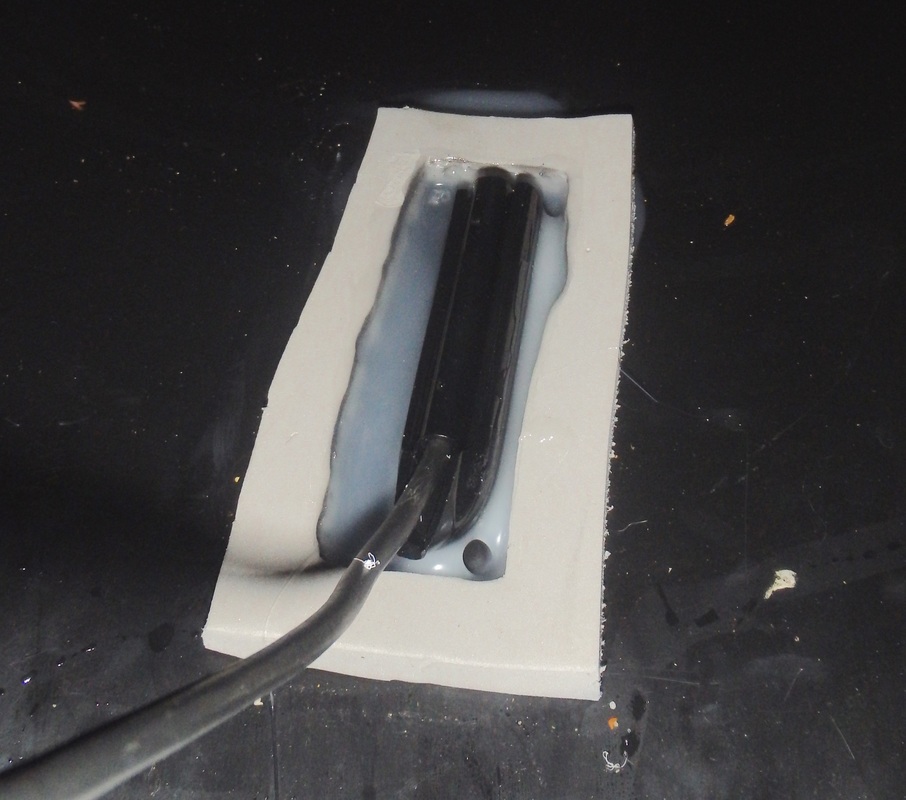 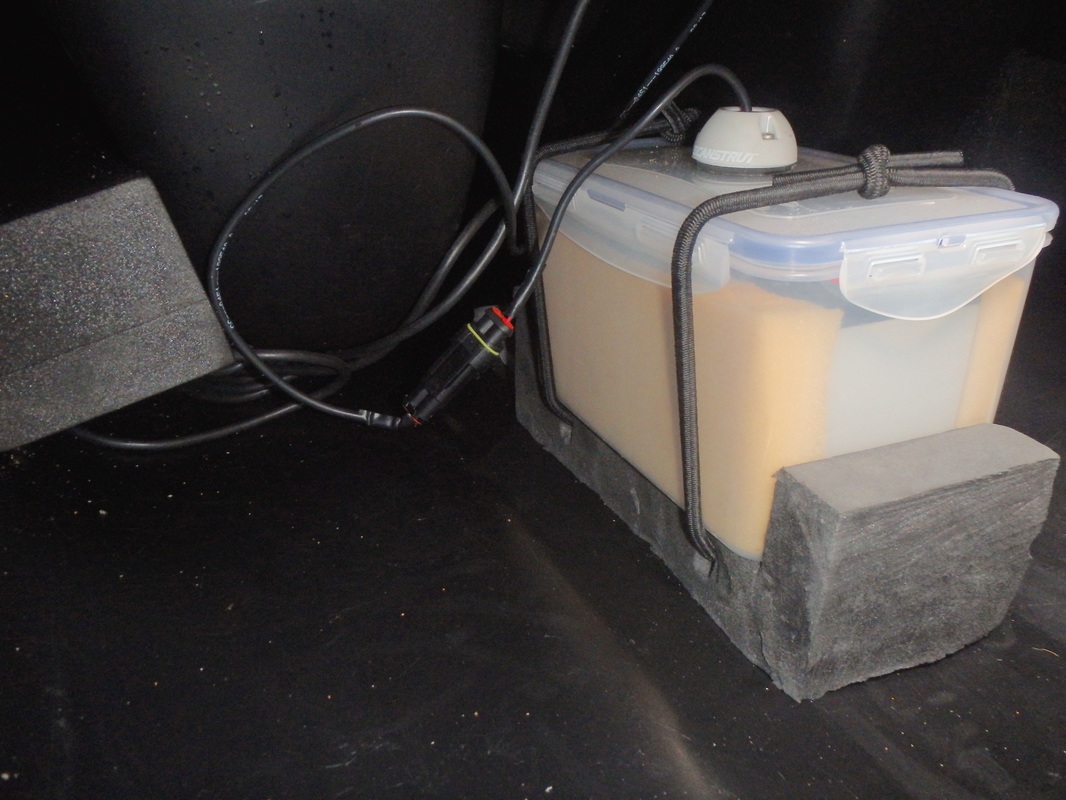 The wires are all tidy and the battery box can easily be disconnected and removed for when the kayak is being transported. The battery box can also be moved to the Abaco for use with the Raymarine Dragonfly. The bungee keeps it all in place so if the kayak was to flip the battery wouldn't be thrown around potentially damaging the wires. The Finished Product I used the Elite-4x on an early morning lure fishing session in Plymouth sound and the unit appeared to work perfectly. The transducer install had been successful with no obvious loss of down scan imaging return. There were no signs of any air bubbles causing interference either. Depth reading appeared correct although temperature readings were a little way off - this was to be expected as the transducer is exposed to the air inside the hull. Resolution of DSI return was high in shallow water and relatively good even in deeper water. 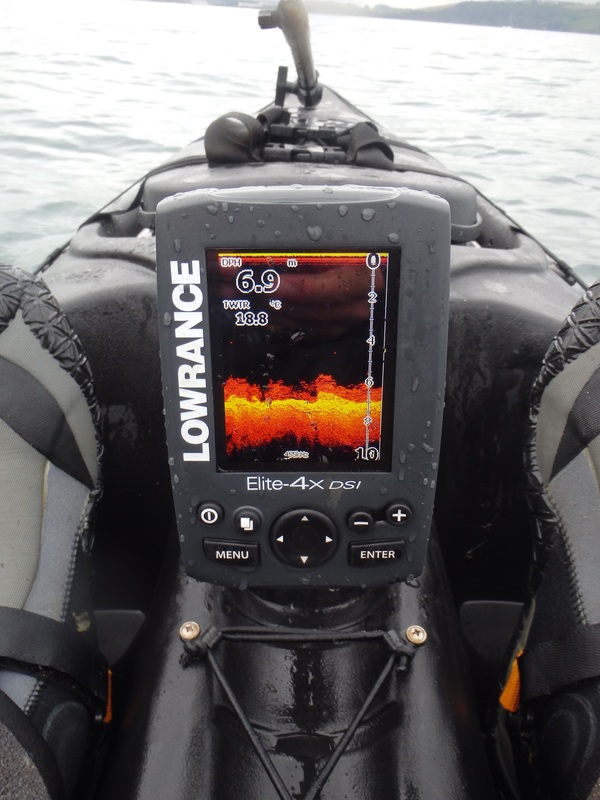 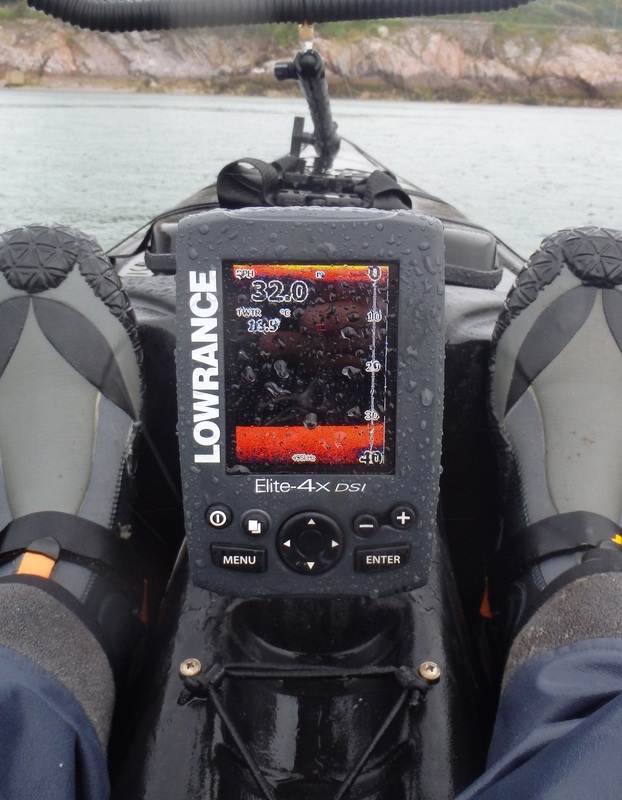 A successful install - time to put it to good use to find me some structure and fish!
29/7/2015 23:25:13
Accurate installation, waterproof settings, adequate tool assortment and a very perfect technicality makes game fishing a real fun. Appreciate your guidance, very helpful!
Cornish Kayak Angler
6/12/2015 23:34:22
Thanks for your comment Norman, I'm glad it is helpful :)
Cornish Kayak Angler
6/12/2015 23:37:22
Thanks for your comment Matthew, i hope the article has been helpful :) The fish finder has been installed for nearly 5 months now and the installation is still going strong.
Kenny Gabriel
4/1/2018 21:49:56
Nice site. when you push the transducer into the GOOP does the Transducer rest against the kayak or is there a layer of goop between the transducer and haul? 5/1/2018 09:17:37
Hi Kenny, Comments are closed.
|
AuthorLiam Faisey 
My Tackle Shop
SPONSORS
Proudly associated with

Cornwall's only specialist kayak fishing shop
Archives
March 2023
Categories
All
Add my blog to your feed reader by clicking the button below
Get blog updates via email
Kayak Fishing Videos
Custom feed reader powered by FeedWind
Useful Links
Anglers Afloat
Cornish Shore & Kayak Fisherman Cornwall Canoes Palm Equipment Penzance Kayak Fishing Meet Info Saltwater Kayak Fisherman Magic Seaweed XC Weather 
|
 RSS Feed


|
|
Website powered by pasties and the hope of good weather!
© 2023 Liam Faisey
© 2023 Liam Faisey