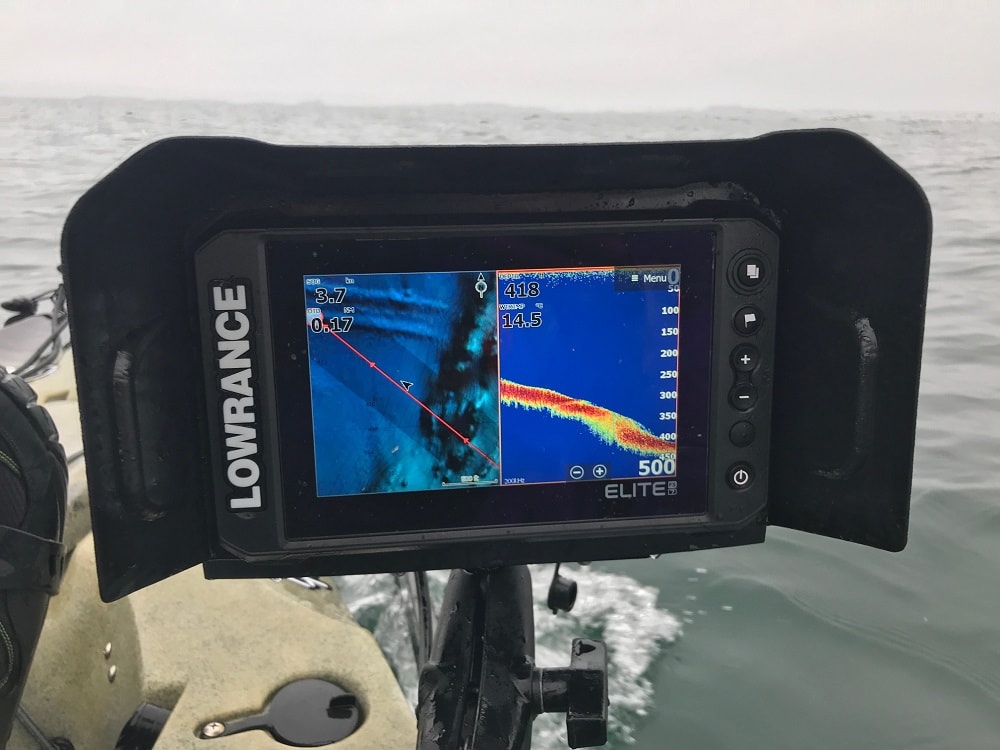
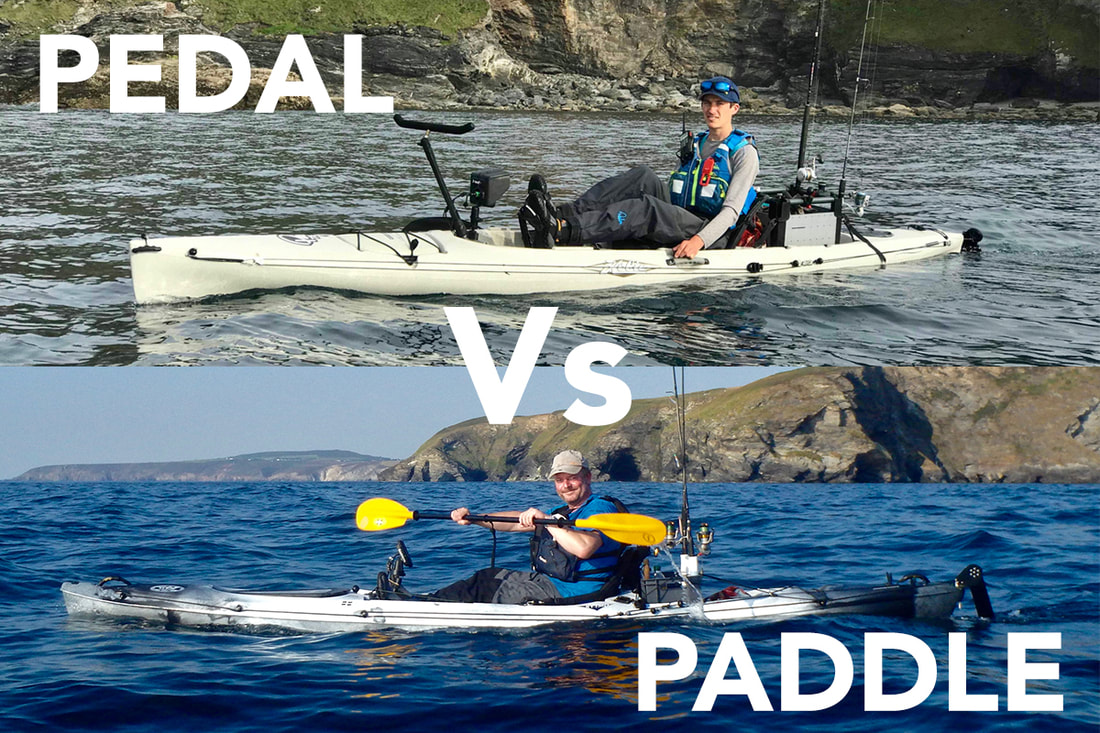
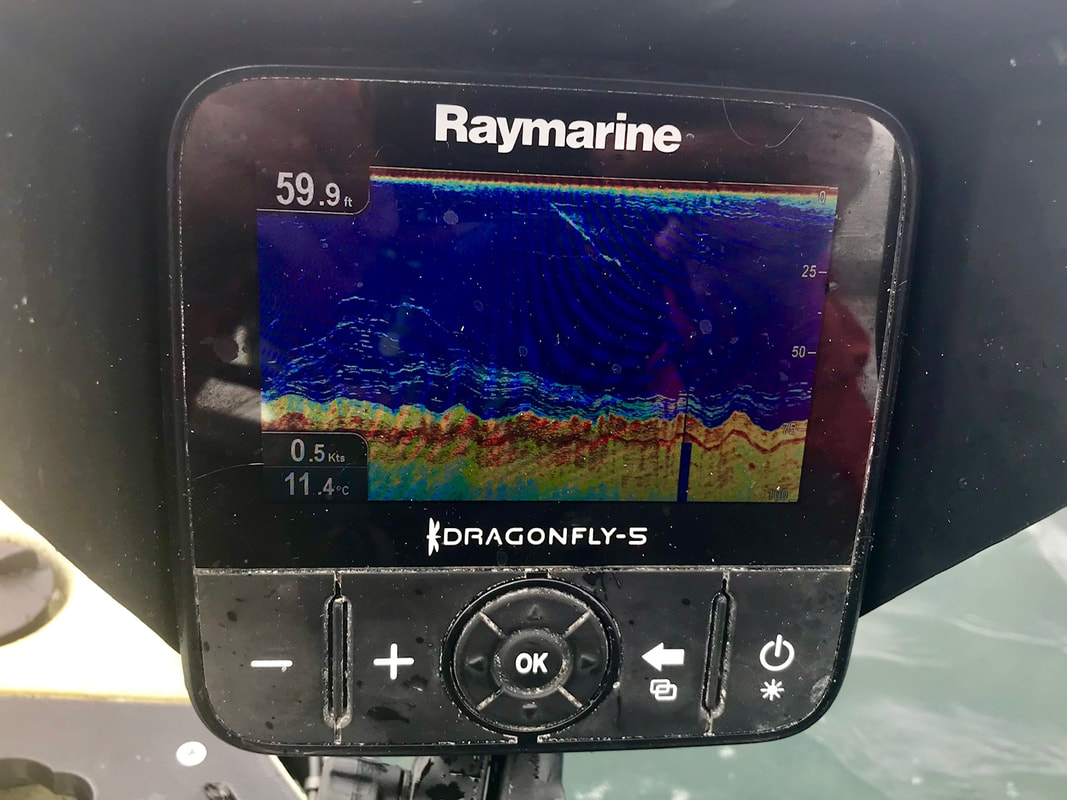
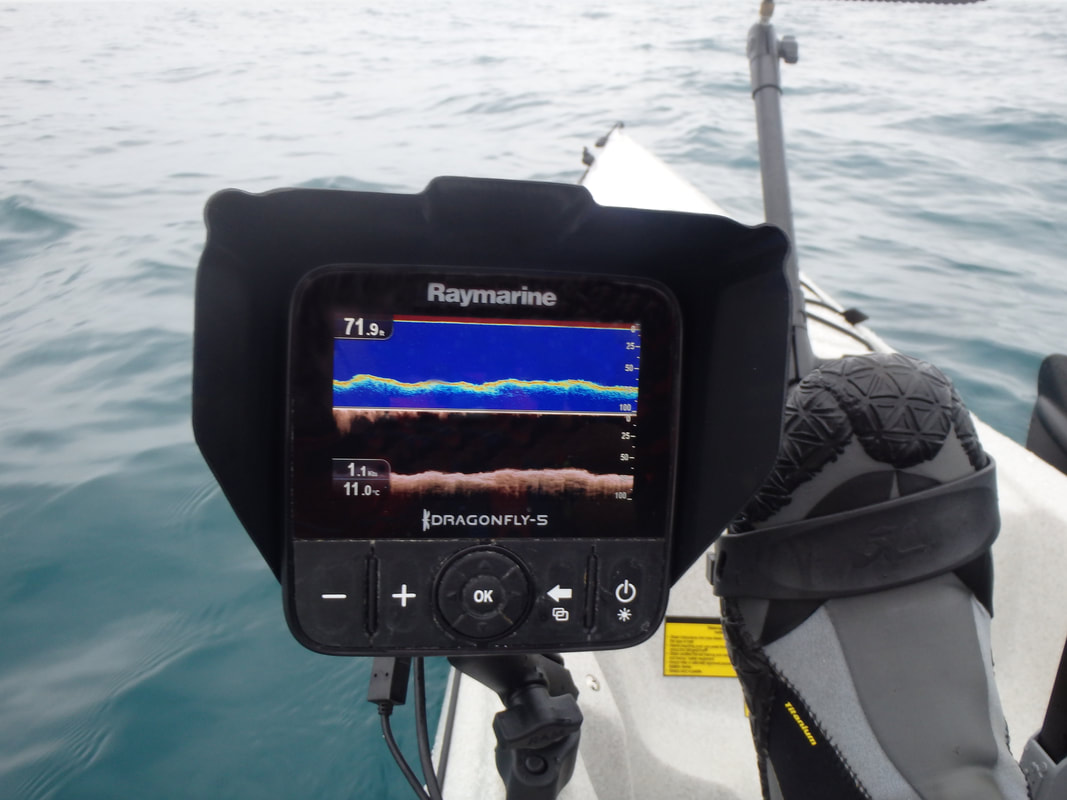
There is no doubt about it, having a fish finder on a fishing kayak is a game changer. It gives you an insight to the world beneath your kayak, which would otherwise be largely unknown. Find reefs, drop-offs, gullies, plateaus, sand-banks and other fish holding features. Tell the difference between soft ground and hard ground. Know the depth you are fishing in, the water temperature and if there are any fish showing within the water column beneath the kayak. The information provided by a fish finder will ultimately allow you to fish more effectively and result in more fish to the kayak! Some may say it's cheating but most of us are in the kayak fishing game to catch fish and if there is a device that will put you onto more fish then it's a worthwhile investment! Fish finders as standard are designed for use on boats and a little head scratching is often needed to fit one to a kayak. Luckily there are several ways to go about it with off-the-shelf accessories to make fitting a fish finder to your kayak much easier. Which Fish Finder for your Fishing Kayak?Lowrance, Garmin, Raymarine and Humminbird all produce fish finders with models to suit the occasional user to the hard-core angler. A standard entry-level unit will have a 4-inch colour display and use broadband sonar to show the bottom structure and any objects within the water column. Some models also include basic GPS plotting functionality allowing you to add your favourite fishing spots and launch marks to a simple base-map. These units are what the majority of kayak anglers will opt for as a first fish finder and at the time of writing the Lowrance Hook2 4x GPS and Garmin Striker Plus 4 are popular choices. These units can be found in the £100-150 price range here in the UK. Fish finder prices increase as they become more feature-rich with larger displays, DownScan Imaging, CHIRP Sonar and GPS chart plotting functionality. Larger 5 and 7-inch screen sizes allow you to study the detail on screen more easily, and are useful if you are using a split-screen mode e.g. showing sonar readings beside a GPS chart. DownScan Imaging offers a higher resolution of the seabed structure than is possible with standard sonar and is great for locating fish-holding structures. CHIRP (Compressed High-Intensity Radiated Pulse) sonar uses a pulse of sonar at varying frequencies to provide a more detailed reading of the seabed and any fish within the water column. This provides a clearer image and better target separation making it easier to distinguish between individual fish, large fish and bait shoals.
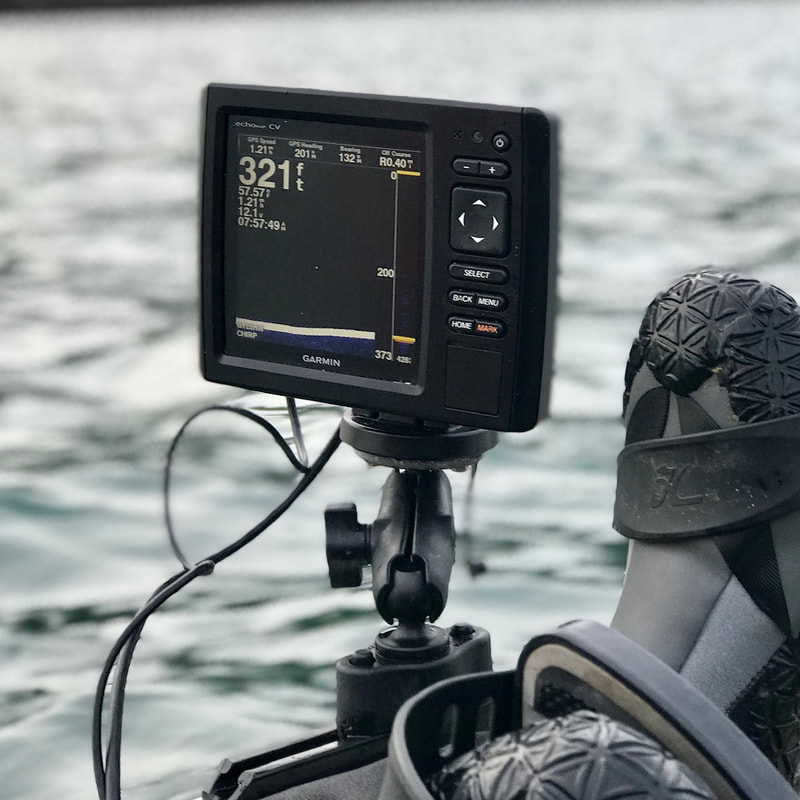
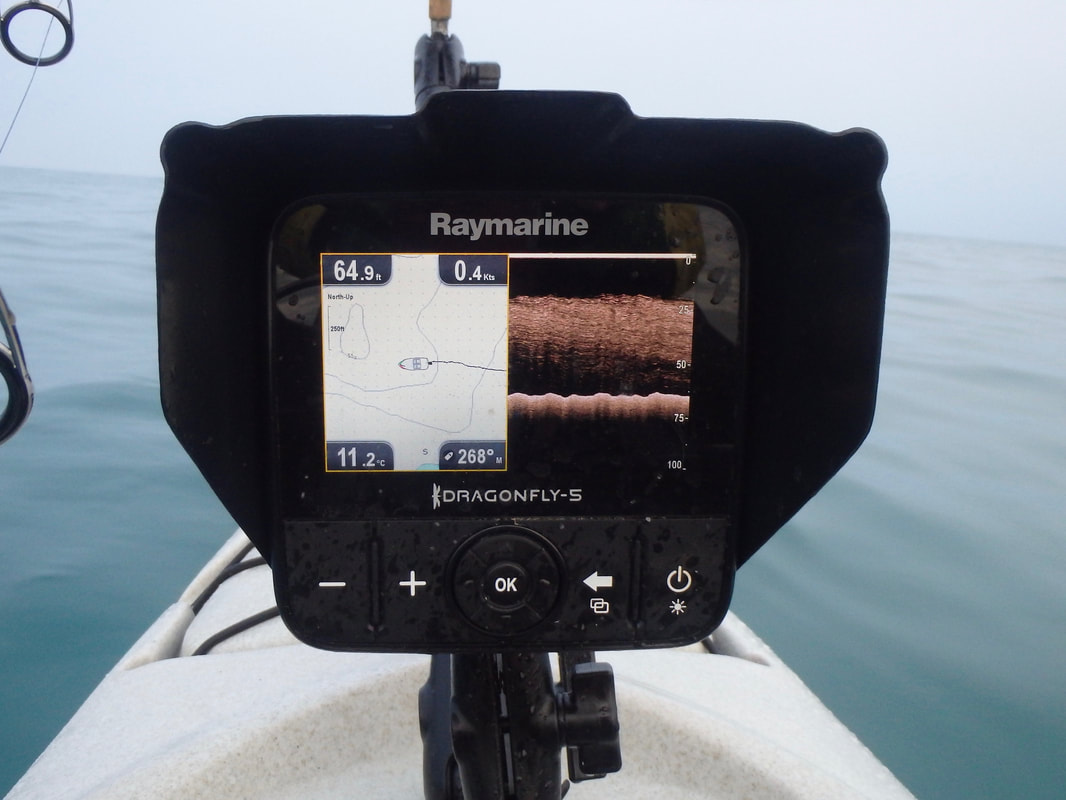
GPS chart plotting functionality allows the user to view their GPS position and this can be used to plot marks, tracks and routes onto a base-map. This has obvious benefits for marking features or productive fishing spots and drifts so that you can return to them. You can also see your speed over ground and bearing which is also useful for navigation. Base maps can be upgraded to highly detailed seabed charts, such as those from Navionics, providing the user with incredible detail of the ground in their vicinity. This makes navigating to marks that look productive very easy. 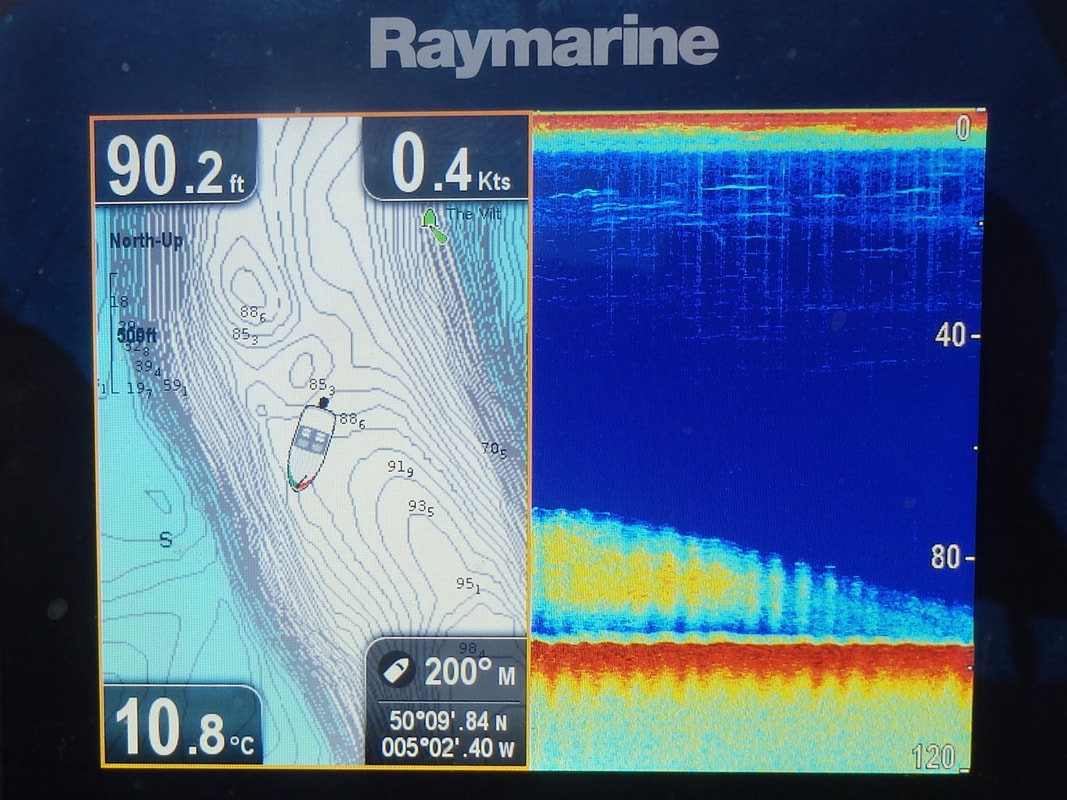 A GPS chartplotter with upgraded Navionics+ Sonar Chart basemap GPS information is also plays a role in staying safe on the water - you can navigate yourself to the shore or your launch mark should you find yourself in fog, you can see that you are making ground against adverse conditions, know when you are drifting at a speed or direction that may cause trouble, and see your GPS position clearly incase you need to relay this in an emergency. Fish finder units with 5+inch displays, CHIRP Sonar, DownScan Imaging and GPS chart plotting with upgraded Navionics+ charts will set you back over £500, but you will have an incredible source of information at your disposable whilst fishing on your kayak! Popular units with such specification include the Lowrance Hook2 Combo models, Raymarine Dragonfly Pro series and the Garmin EchoMap series. Whichever fish finder you opt for, allow at least an extra £50 for accessories you will need to fit it to your kayak. 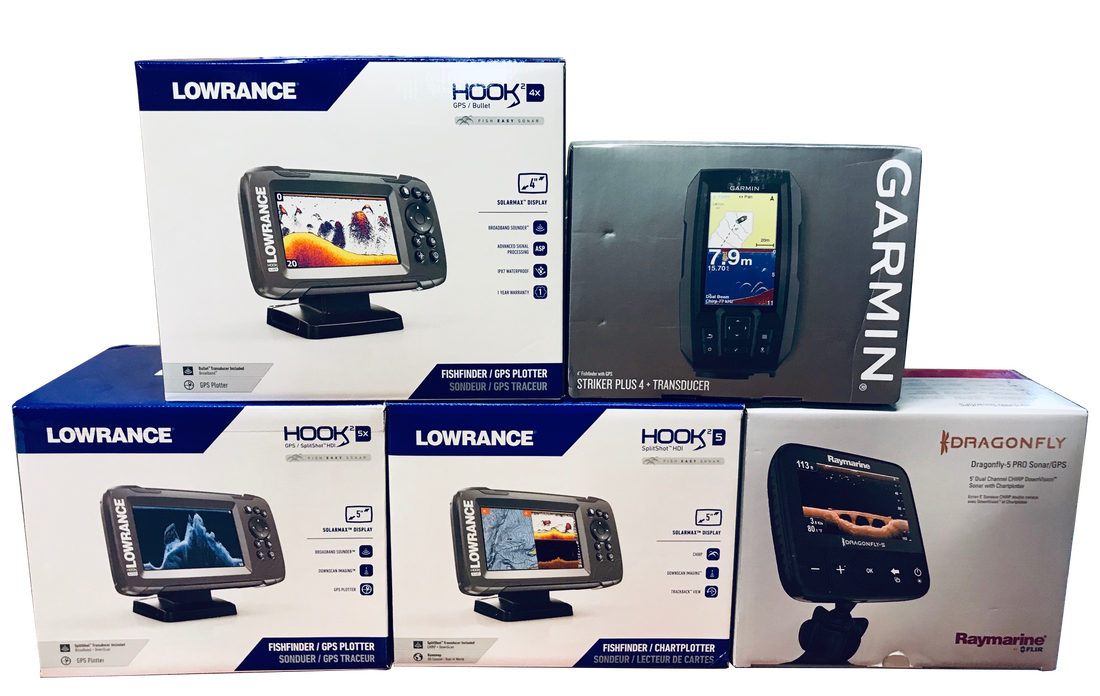 A selection of popular fish finders for kayak fishing Installing a Fish Finder to a KayakThere are three main parts to consider when installing a fish finder to a kayak:
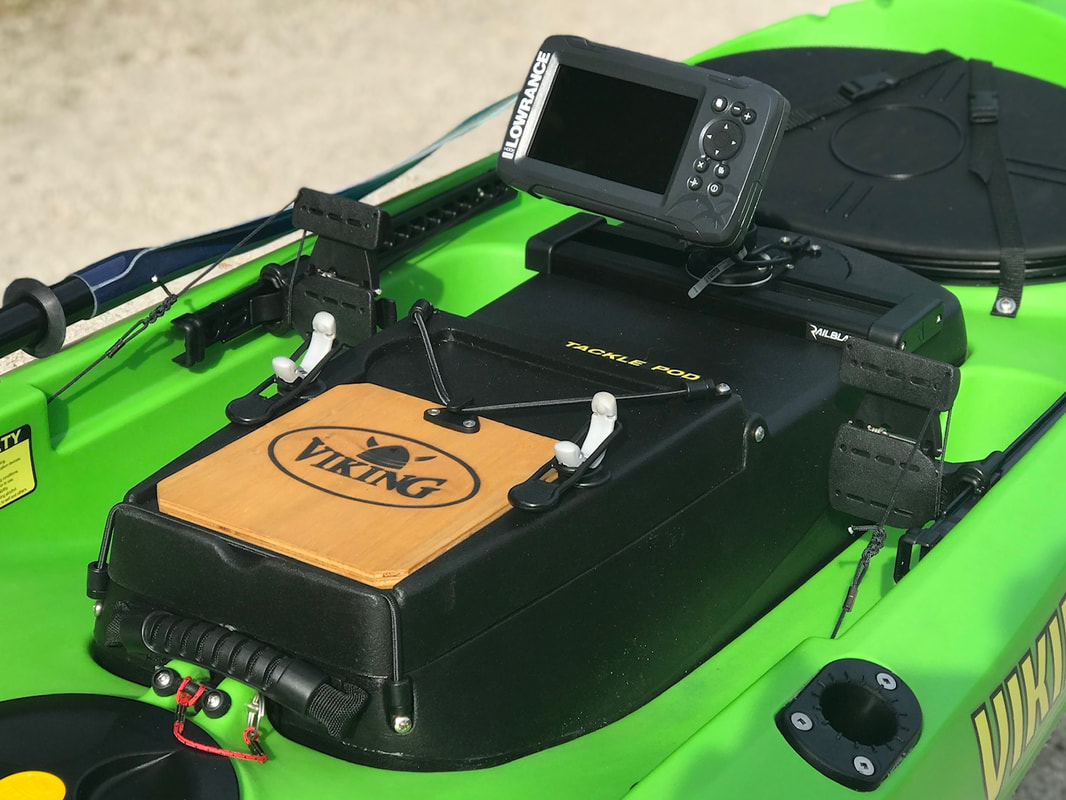
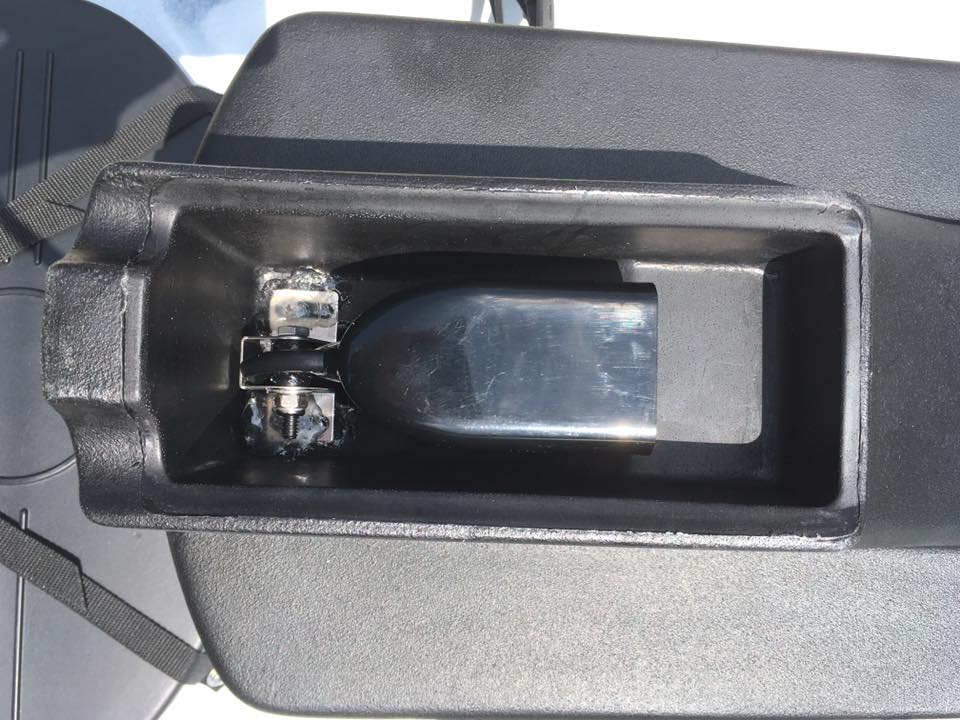
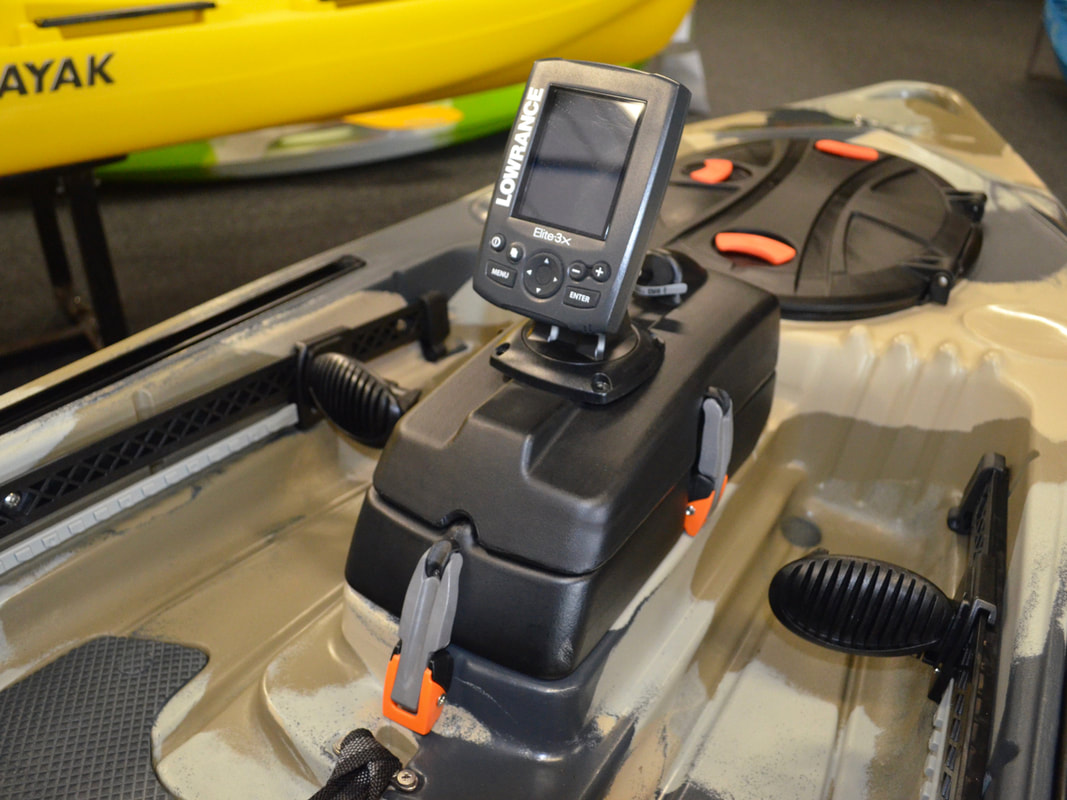
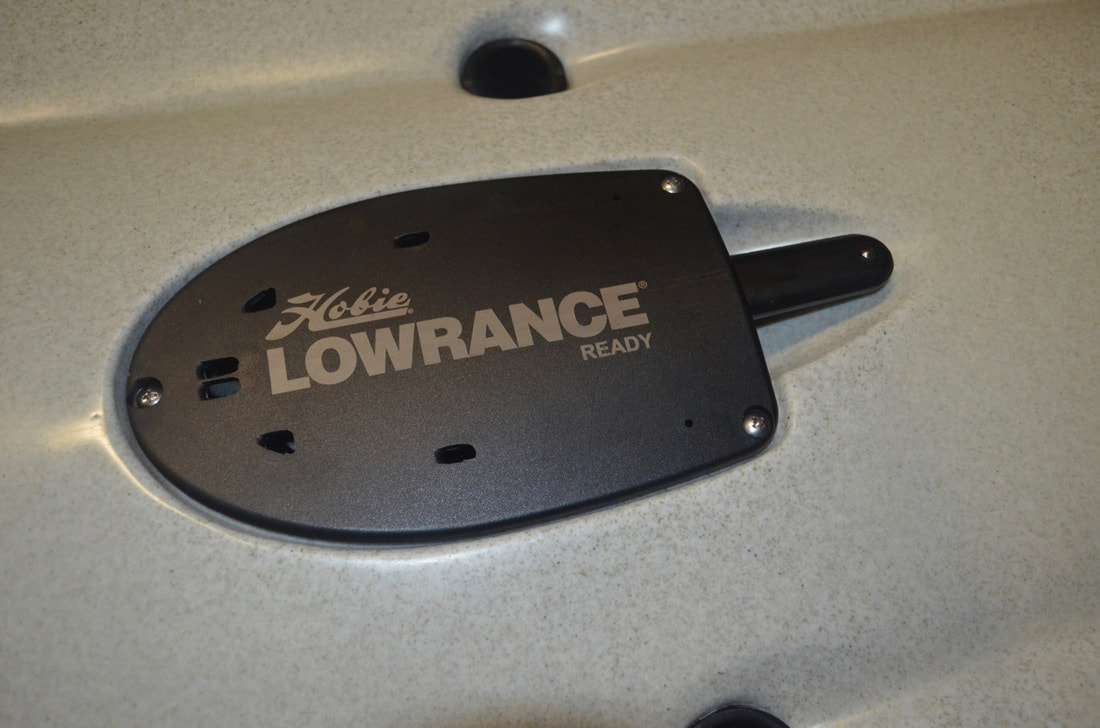
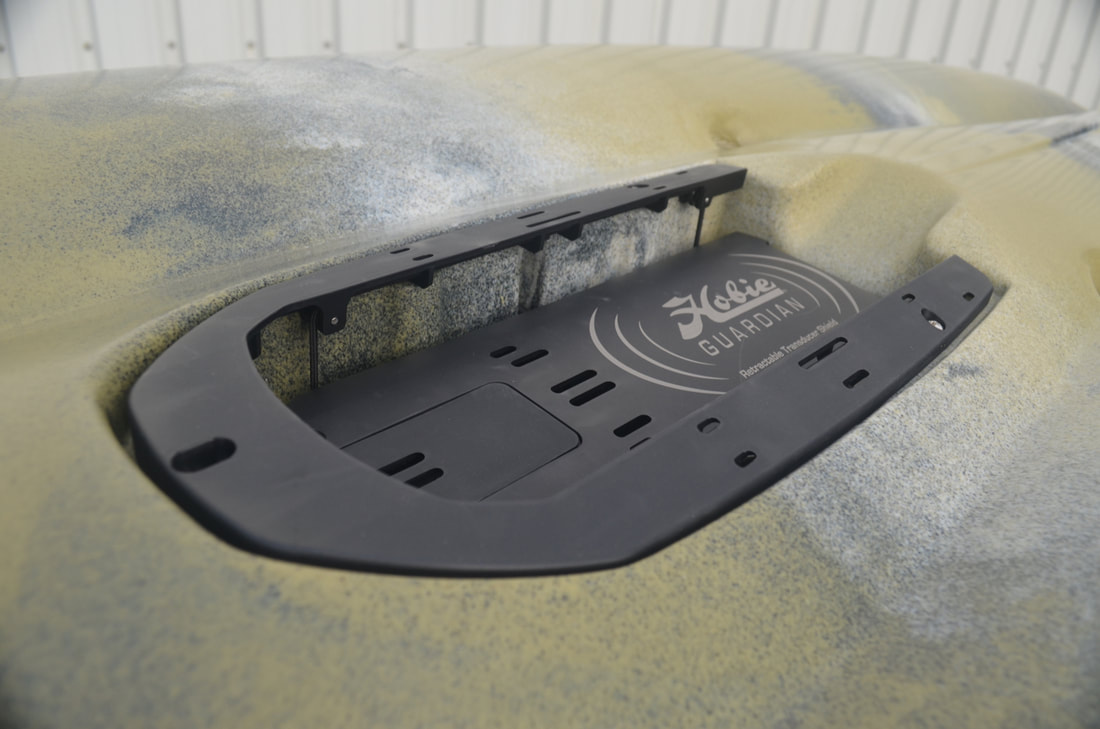
Some kayaks, including models from Viking Kayaks and Feelfree Kayaks, come with dedicated removable fish finder / sonar pods offering a complete mounting solution for the head unit, power source and transducer.
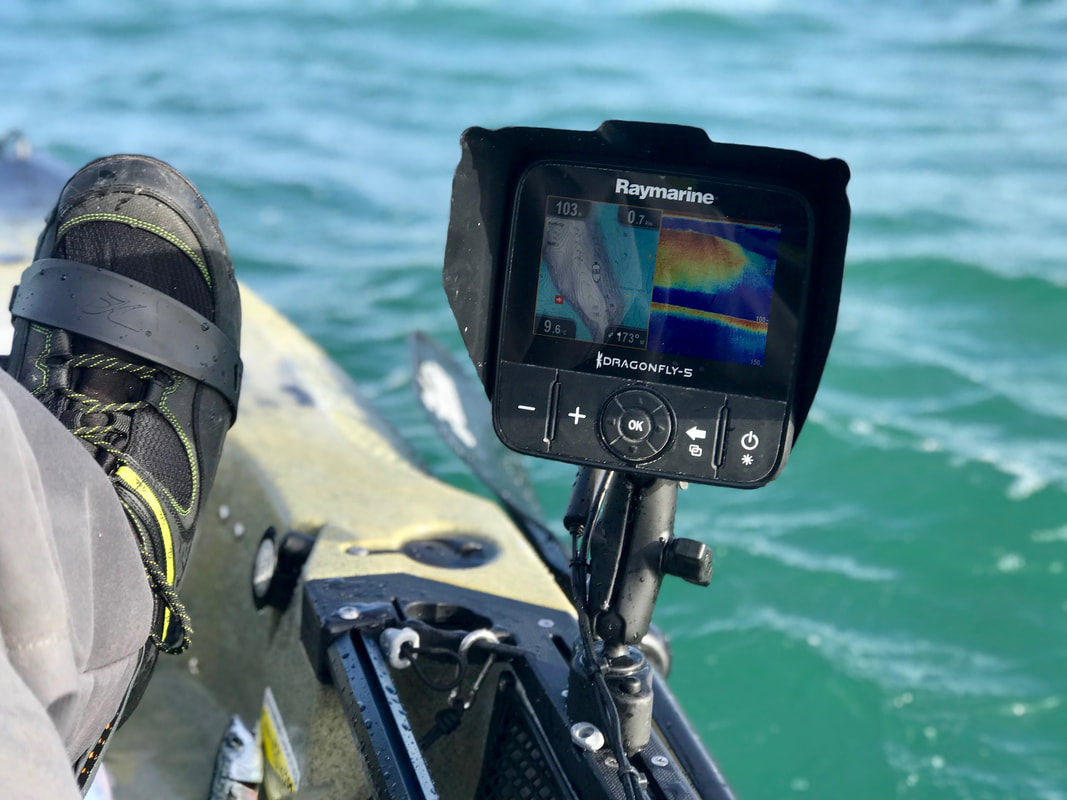
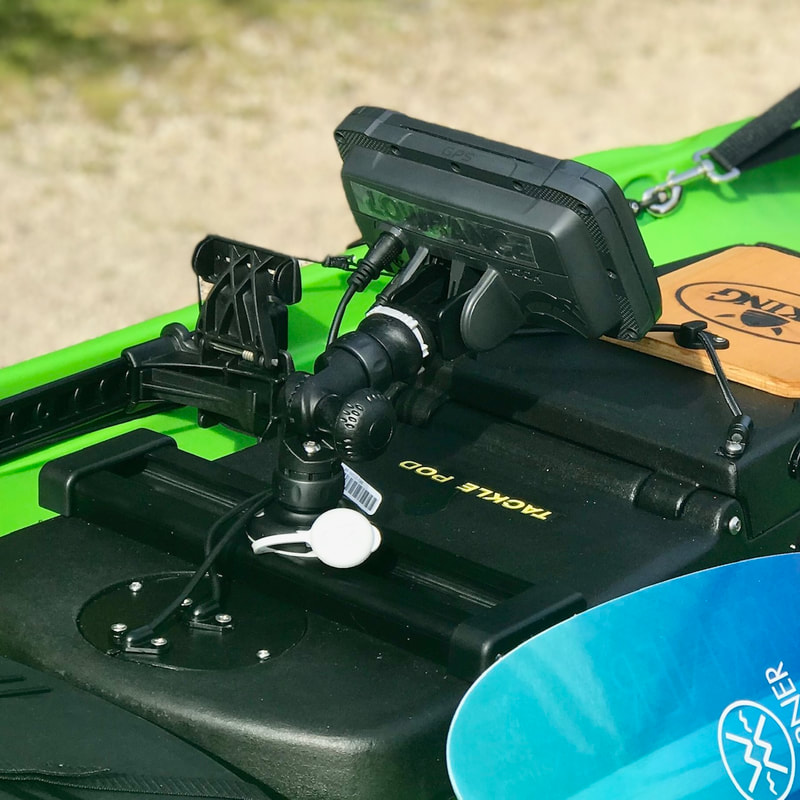
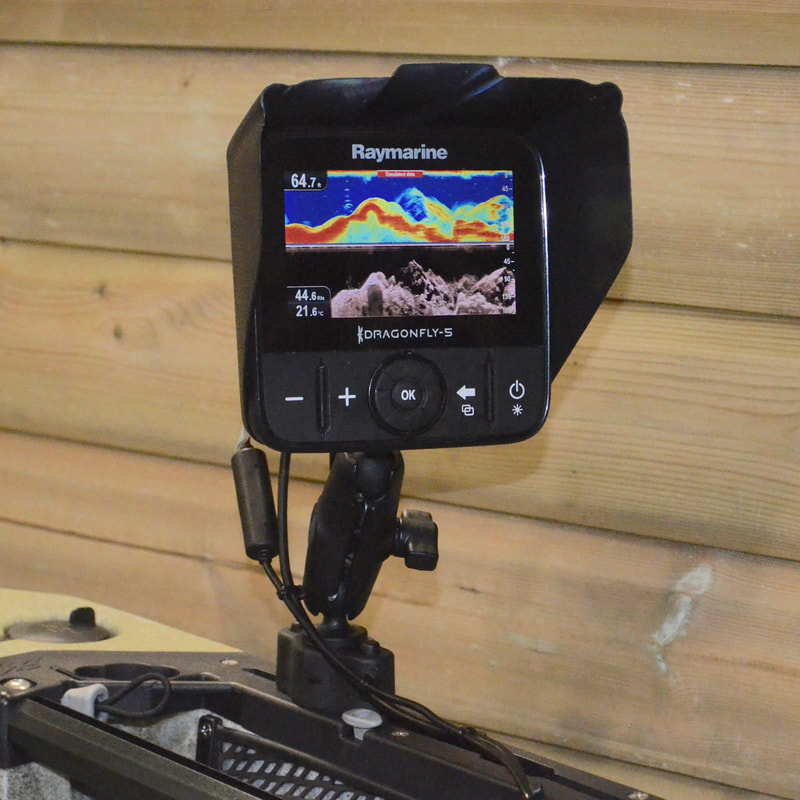
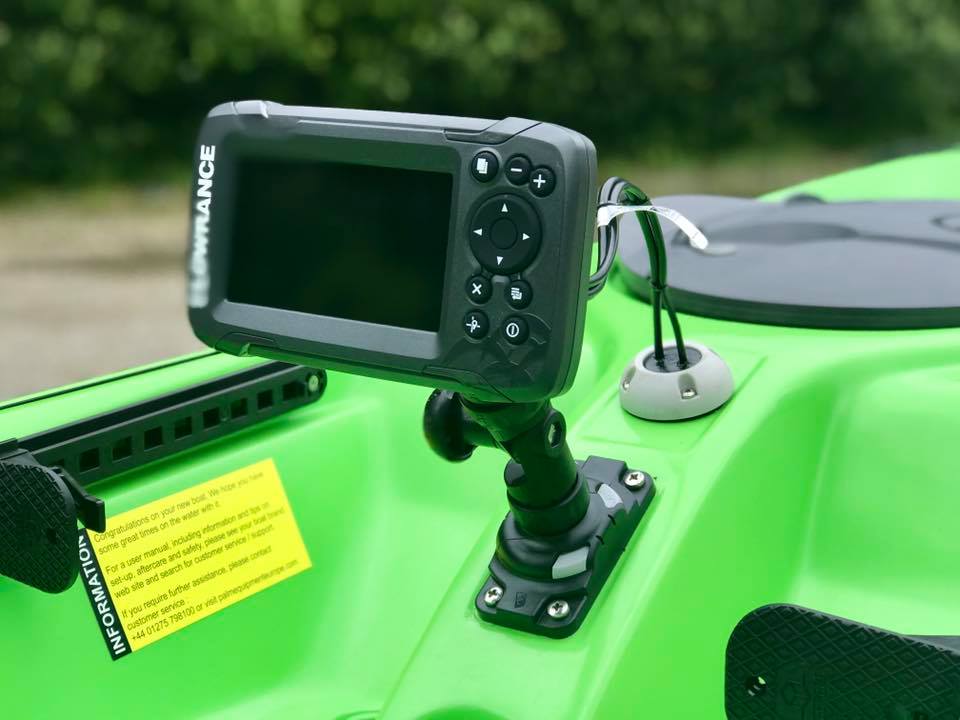
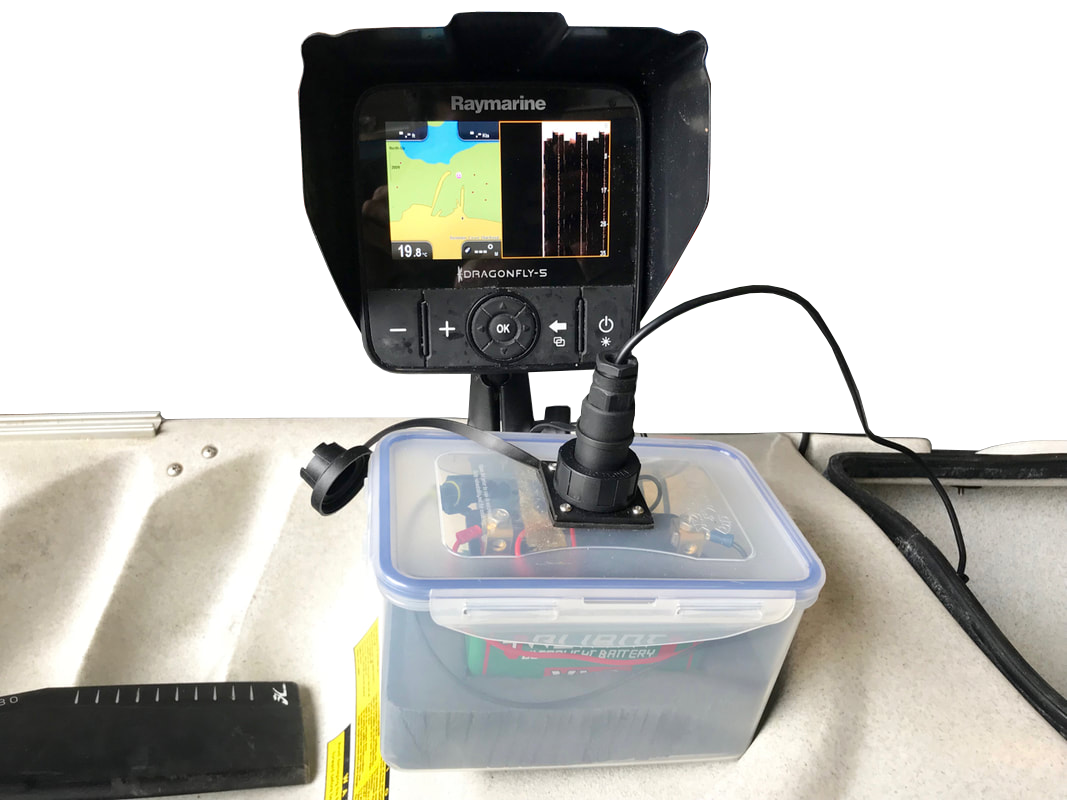
Many kayaks do not have this luxury and a little thought is needed before fitting a fish finder. Each model of kayak will differ in how it is best to install a fish finder and the main ways are explained here. Fitting the Fish Finder Display to the KayakAll fish finders will come with some form of mount. It is a matter of finding a suitable flat spot on the deck to fit this – ideally in a position within easy reach such as on a centre console or on the side of the foot-well. On some kayaks this is not possible with the supplied fish finder mount as the footprint is too big. There are several after-market fish finder mounts that offer much smaller footprints making them easier to install to a kayak. Universal and model-specific mounts are available from Scotty and Railblaza and Ram Mounts. These accessory brands also offer track mounting options to allow for fish finders to be fitted to the slide tracks found on many fishing kayaks, for easy installation and easy removal at the start and end of a session. My own Raymarine Dragonfly 5-Pro is mounted to the slide tracks on my kayak using a Dragonfly-specific mount and a Quick-Release Track Base from Ram Mounts. I particularly like the Ram Mount options as the system uses ball and socket technology for almost infinite angle adjustment of the display, allowing you to get the perfect viewing angle.
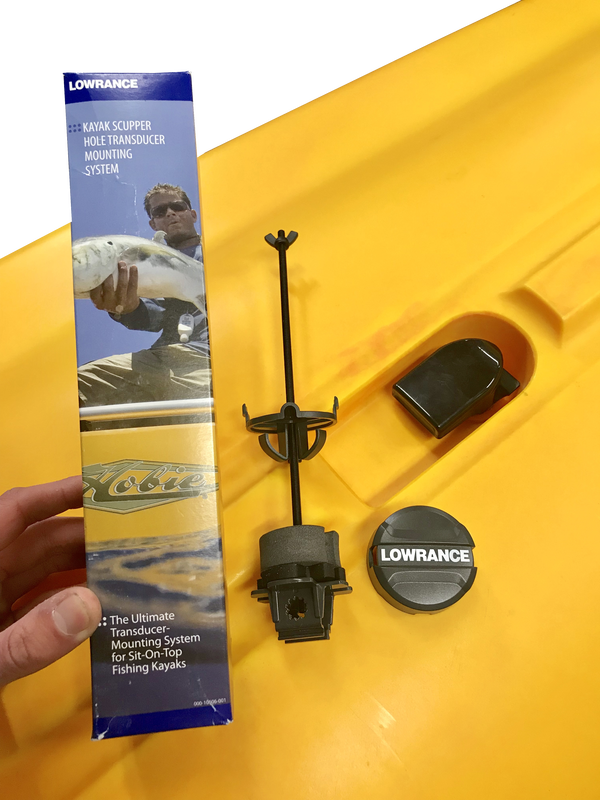
Fitting a Fish Finder TransduCer to a Fishing KayakHere things get a little trickier. The transducer is the component that pings the sonar through the water column and picks up the return signal. The unit then uses the time between transmitting and receiving the signal and the strength of the return signal to generate the on-screen information. There are several ways to fit a transducer to a kayak and it will very much depend on the model of kayak as to which method is best employed. Scupper Mounted Transducers
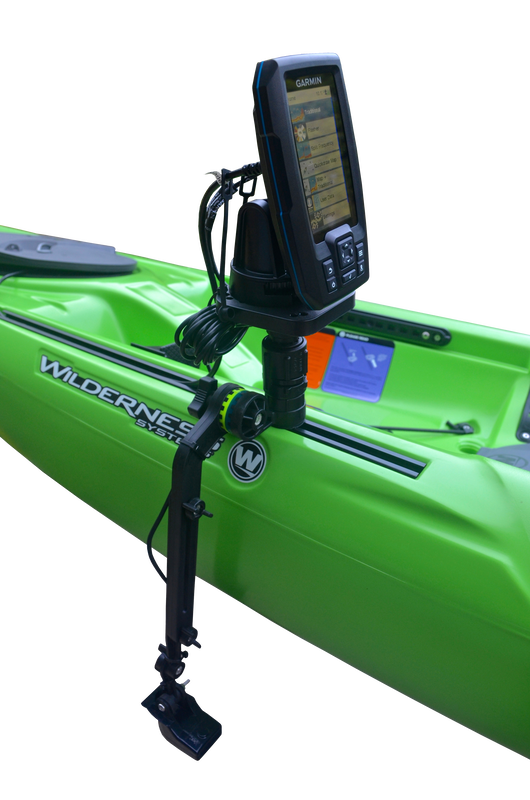
Arm Mounted Transducers
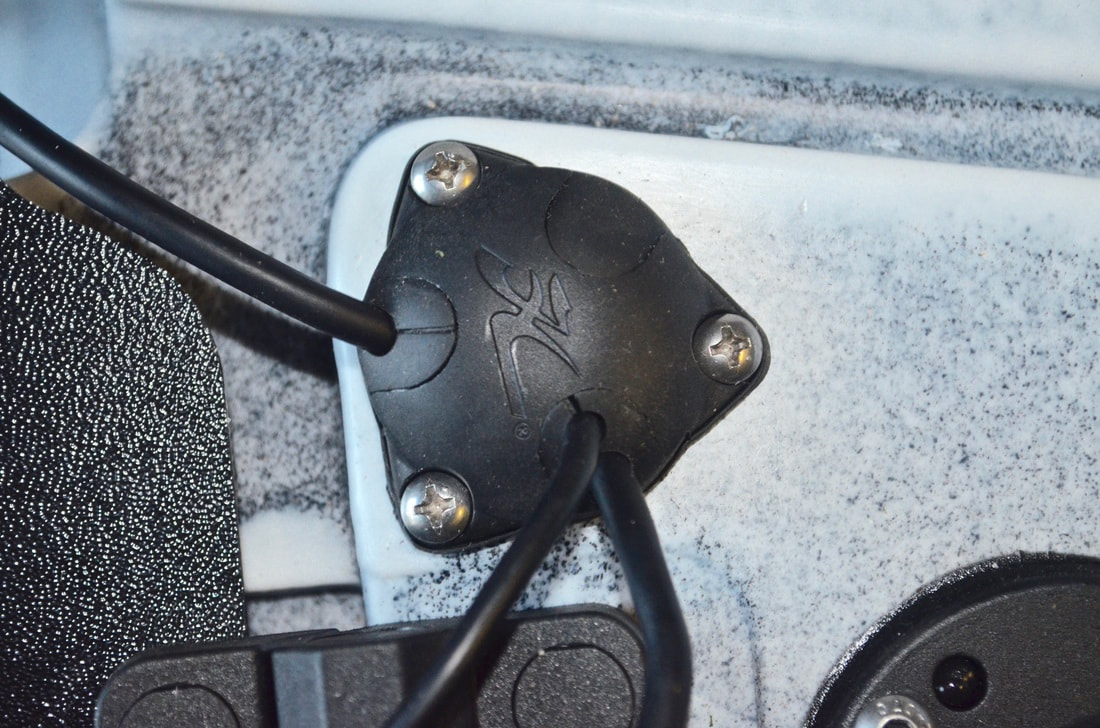
In-Hull TransducersIt is possible to bond many transducers against the inside hull on a kayak. The transducer will shoot sonar through plastic and composite kayaks with minimal loss of reading clarity. This will not work with more complicated side-scan transducers, but for standard sonar / downscan transducers, this method works fine. To bond a transducer to a kayak, you will need to encase the transducer in a suitable adhesive which will give a strong hold to the plastic or composite surface. Flexible adhesives are preferable as they are less likely to 'pop off' the surface if the plastic flexs. I recommend Sikaflex EBT+ Clear, but others use adhesives such as CT1 or if you can get hold of it, E6000 or Marine Goop. You will need to make a ‘transducer well’ from a piece of high-density foam – a gardeners kneeling pad works well. Cut out a rectangle of foam that is approx. 60-80mm longer and wider than your transducer. Draw around your transducer allowing a 10mm gap around its outer edge. Cut out this shape from the foam. This will need to be glued against the inside of the hull, on a flattish area roughly on the centre line, and allowed to dry to form a sealed well. Inside the bow hatch usually offers enough space and easy access to do this. It usually pays to scratch up the area on the inside of the hull where you will stick this so that the glue has a rough surface to bond too. You can then fill the well approx. 2/3rd's full with your chosen adhesive. It is important to ensure there are no air bubbles trapped within the glue, as these will cause sonar reflectance. If bubbles are present, use a thin sharp instrument to scrape these to one side or out of the glue. Once clear, the transducer can be firmly pushed down into the glue and against the hull of the kayak. Leave the kayak and transducer level and allow the adhesive to cure, which usually takes 24-48 hours. Once cured the sonar will be able to shoot through the solid glue and kayak hull without issue. If air bubbles have found their way beneath the transducer these will usually show as vertical white lines of interference on the display when on the water. If this is the case, the transducer will need to be removed, glue peeled off and the process started again. 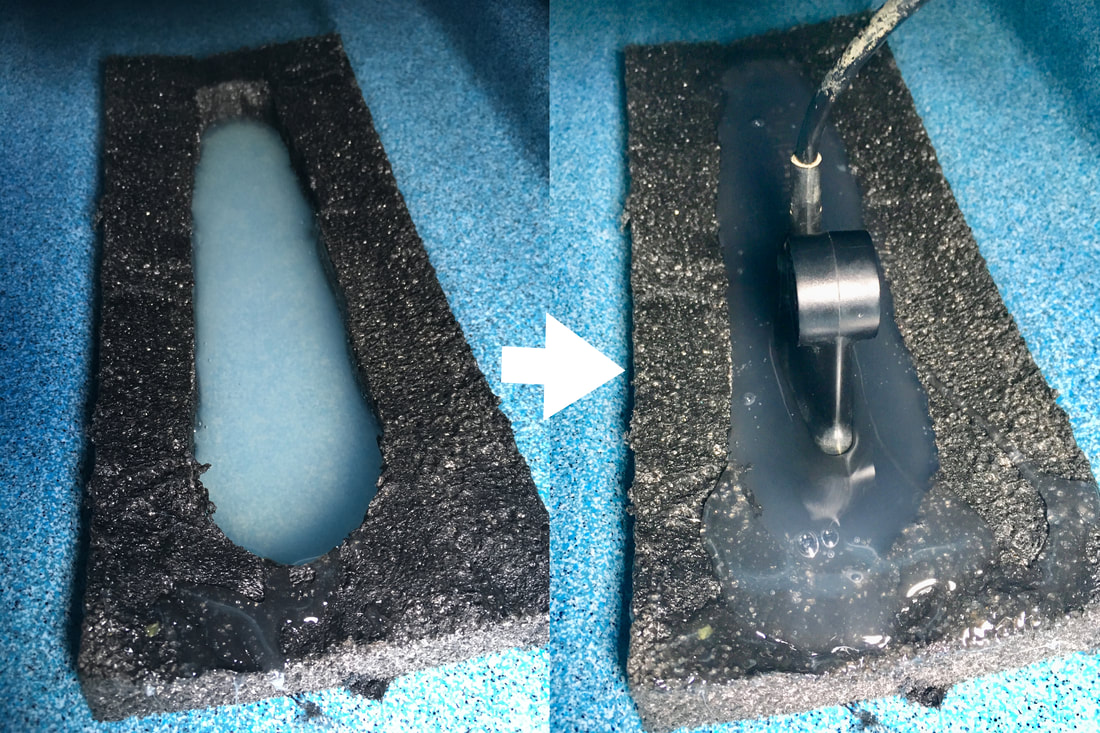 A transducer installed inside the hull of a kayak using an adhesive With the transducer installed inside the kayak, you will need to run the cable up to the main unit on the deck through a waterproof cable gland. Scanstrut and Hobie offer various size cable seals that are perfect for the job.
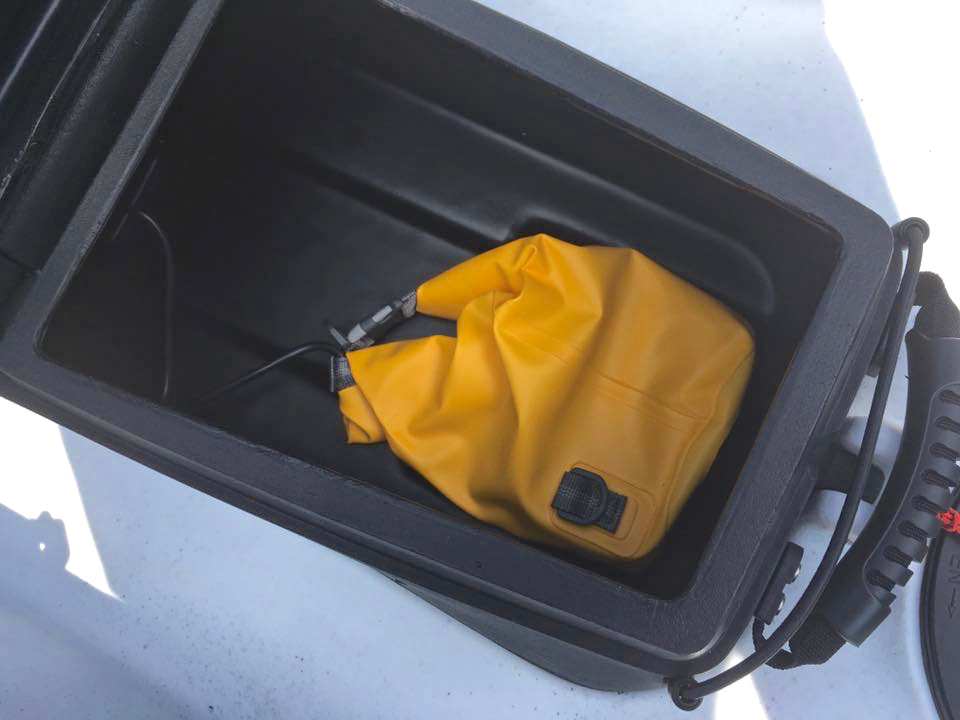
Powering a Fish FinderFish finders will run off a 12V power supply and the most practical power source on a kayak is a battery. Rechargeable Sealed Lead Acid (SLA) batteries are most popular, and are available in various sizes. A 12V 7Ah SLA will power most units for a couple of sessions before charging is required and these batteries can be brought for around £20. Some larger more demanding units will need a larger battery of 10Ah or more. Use a simple 12V trickle charger to recharge these batteries, which can be found for around £20. 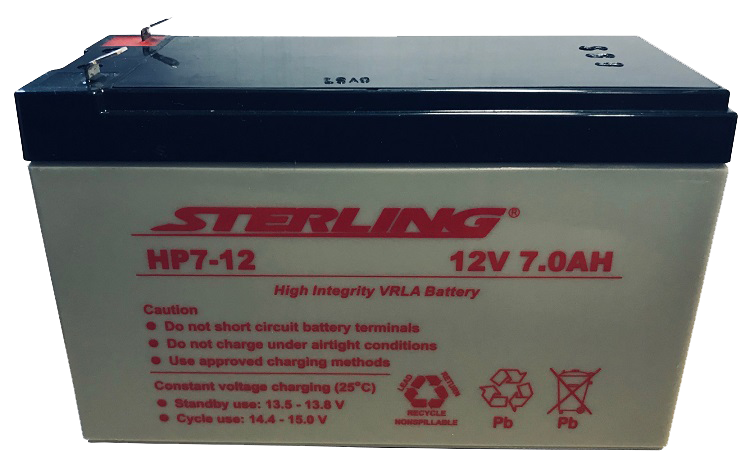 A 12V 7aH Sealed Lead Acid Battery is suitable for most fish finders Store the battery inside a dry bag or waterproof box to keep your power source dry. Whilst a waterproof battery box requires a little DIY to put together (click here for a guide to make one), a simple 5L roll down dry bag is sufficient to keep a battery dry on-deck on in the hull of a kayak. Simply place the battery into the bag and position the power lead to one corner of the opening. Gently roll down the top of the bag several times to form an overlapping seal and clip the bag latches together to hold the seal in place. Most kayakers opt to store the power source on the inside of the kayak, running the power cable up to the main unit through a waterproof cable gland. If an in-hull transducer install has been used then both the transducer and power cable can be passed through a single cable gland such as a Scanstrut DS30-P Medium Seal. You could also store the battery box or bag on the deck - if you choose this option then ensure that the box or bag is secured well to the kayak incase of capsize!
Fish Finder VisorsYou can improve your fish finder set up by adding a visor. There are a number of advantages to using a visor including:
 A BerleyPro Fish Finder Visor will improve your screen viewing experience! Eyes Beneath Your KayakWith a fish finder installed your fishing kayak will become a much more effective platform, allowing you to use the data displayed on the screen to inform your fishing locations and fishing tactics. Drop your bait at the right time, cast your lure over the right spot. Fish finders are now readily available to the kayak angler, and are easy to use. With a little thought and a few accessories they can easily be fitted to a kayak. A fish finder will certainly give you an edge on the water and having eyes beneath your kayak will only help to improve your catch rate!
Where To Buy?If you are in the UK, there is no better place to source all your fish finder essentials than Cornwall Canoes - specialists in kayak fishing! Check out their website for everything needed, from the fish finder to the battery and transducer mounts...
emaly
21/11/2019 10:55:19
This is literally the best fishing community anywhere. I read it every day, and I’m also so grateful I fund https://cutt.ly/TheCompleteGuideToCatching , it helped a lot with my fishing! So finally I got the guide that I was looking for desperately. I found it more detailed than other articles I read. I recently started learning this skill and also bought the garmin fish finder but didn't know how it can be installed. Thanks to your detailed article for helping me.
Arizona Scott
6/5/2021 00:54:50
What do you do for the ground wire? Comments are closed.
|
AuthorLiam Faisey 
My Tackle Shop
SPONSORS
Proudly associated with

Cornwall's only specialist kayak fishing shop
Archives
March 2023
Categories
All
Add my blog to your feed reader by clicking the button below
Get blog updates via email
Kayak Fishing Videos

Custom feed reader powered by FeedWind
Useful Links
Anglers Afloat
Cornish Shore & Kayak Fisherman Cornwall Canoes Palm Equipment Penzance Kayak Fishing Meet Info Saltwater Kayak Fisherman Magic Seaweed XC Weather 
|

 RSS Feed


|
|
Website powered by pasties and the hope of good weather!
© 2023 Liam Faisey
© 2023 Liam Faisey