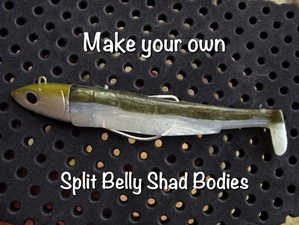
EquipmentPractically all the items needed to make your own soft lures can be sourced from www.lurefactors.co.uk. Lure Factors supply a wide range of plastics, colours, additives, moulds and tools for making your own soft plastic lures. Check out their website, the possibilities are endless! To make split belly shad bodies as shown in this tutorial you will need:
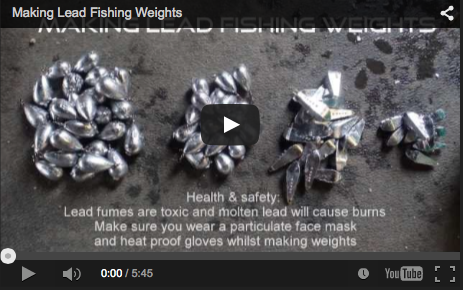
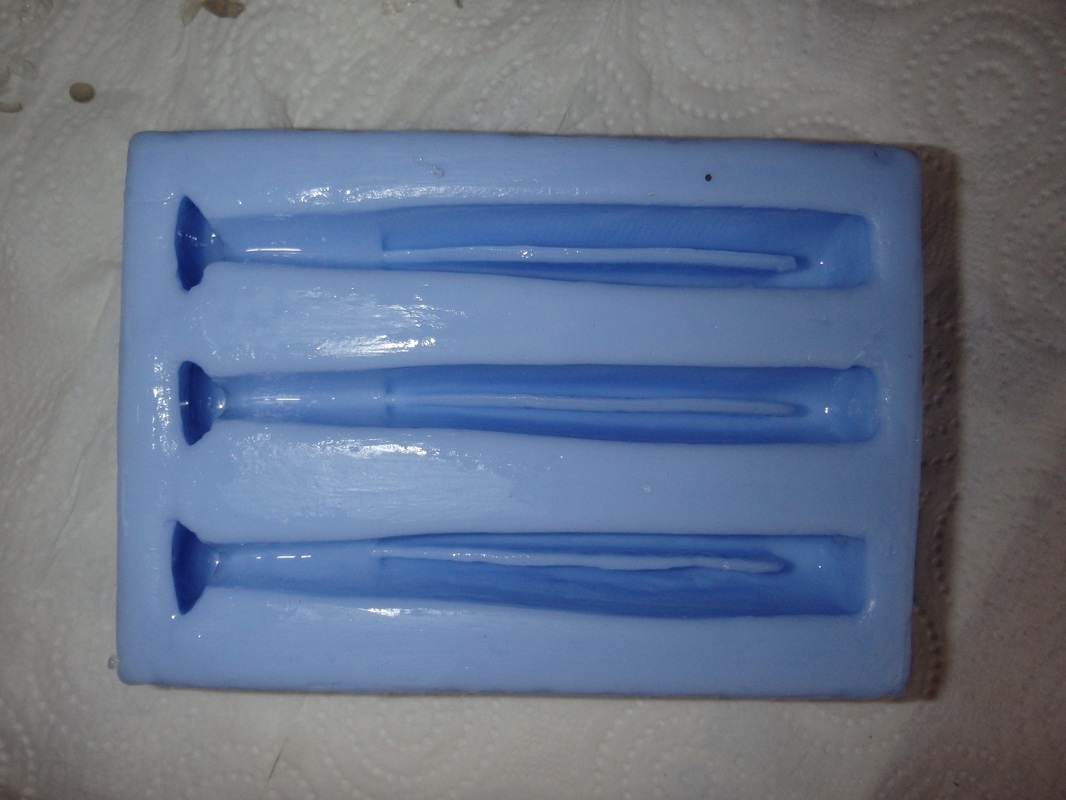
You will also need a microwave - it is recommended you use one that wont be used for cooking food. I went to my local car boot and picked up one for £5! It is also a good idea to have some kitchen roll to hand, a tub of cold water and a pair of scissors. SafetyIt is not healthy to be breathing in molten plastic fumes. It is recommended you work in a well ventilated area and wear a particulate respirator. Molten plastic is HOT - it is advisable to wear heat-resistant gloves but if your careful these are not essential - the handles of the pyrex jugs do not get overly hot unless your are making lures for several hours at a time. Making Split Belly Shad BodiesHere is how i have my work space set up: 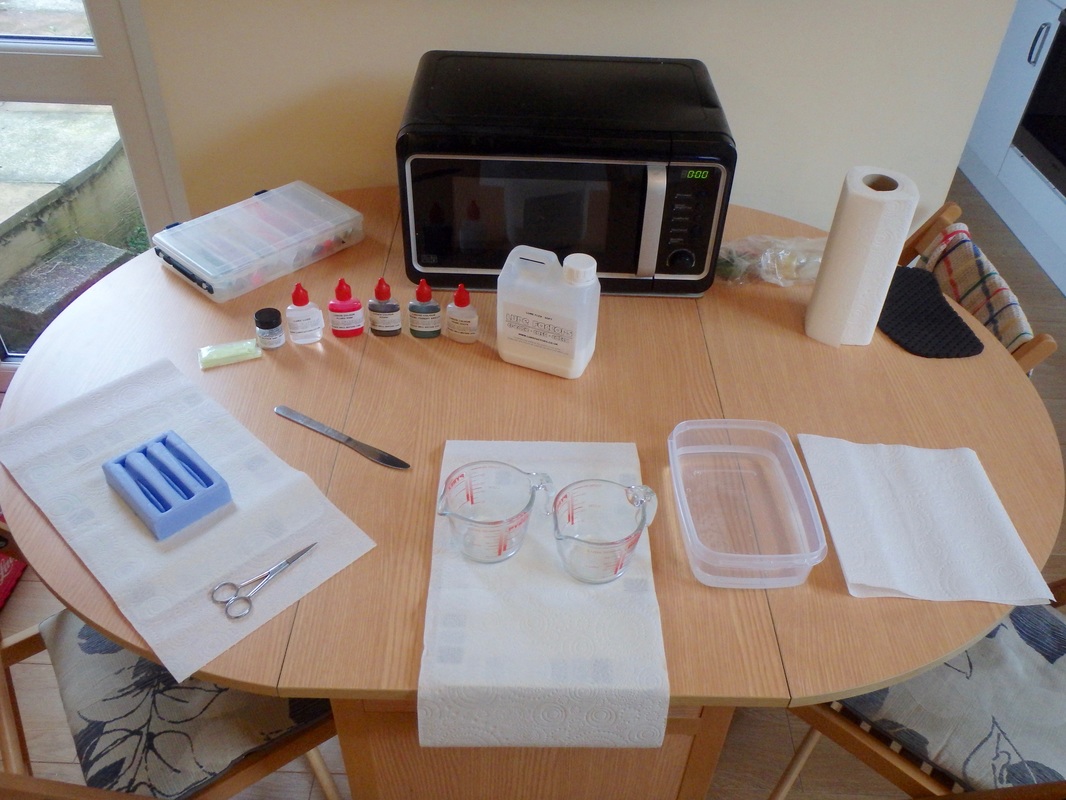 I am using the Lureflex Plastic in the soft grade. The tub must be well shaken to mix the contents before use. 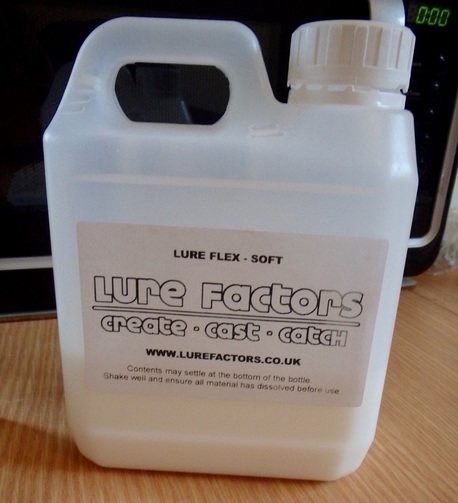 I will be making two-tone lures so require two seperate jugs for the two colours. The 250ml Pyrex jugs are the perfect size and have a narrow spout for slow and accurate pouring. I pour out 50ml of Lureflex into each jug. This is enough to make 5-6 lures. The Lureflex has a milk like consistency before heating. 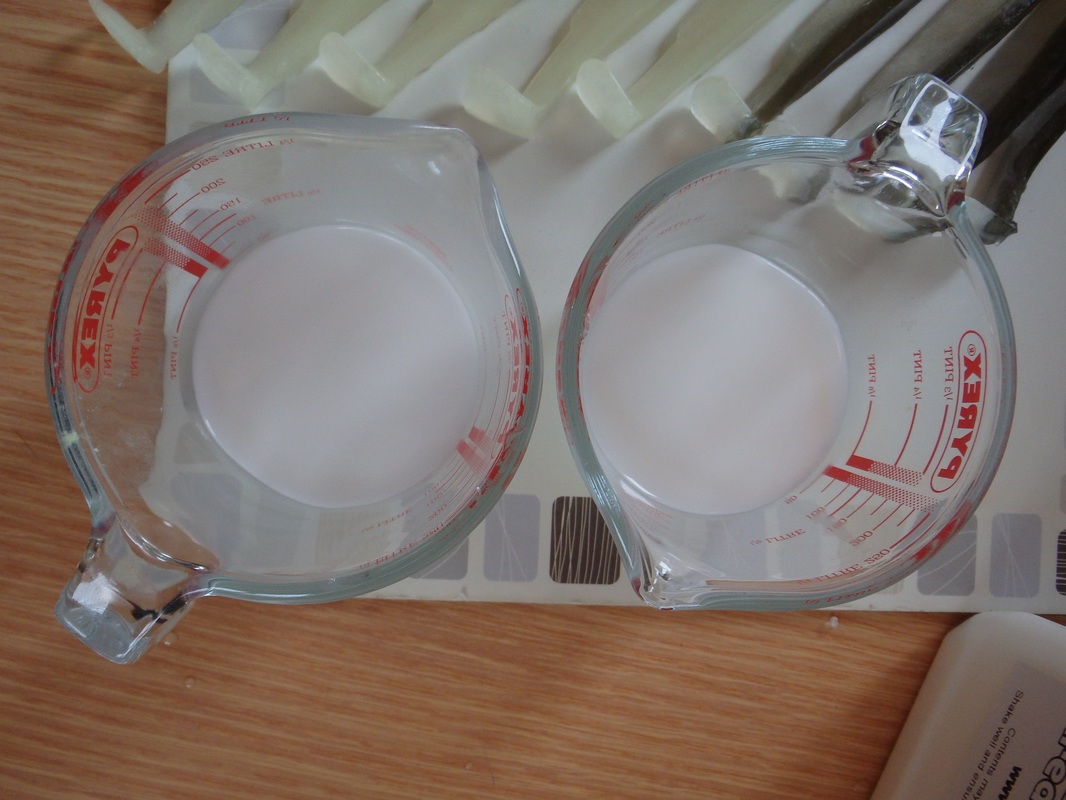 Place the jugs into the microwave for 2 minutes on full power - 700W on my microwave. This time may need to be adjusted depending on the power of your microwave. I found that it was best to take them out at 1 minute 30 seconds and give them a quick stir with an aluminium rod or metal knife before placing them in for the final 30 seconds. Whilst the plastic is heating up get your lure mould prepared by giving each well a light coating of Lure Lube. This makes the lures easier to remove once set and also gives a nice smooth shine to the surface of the lure. A few drips in each well and a quick rub round with the finger on all surfaces.
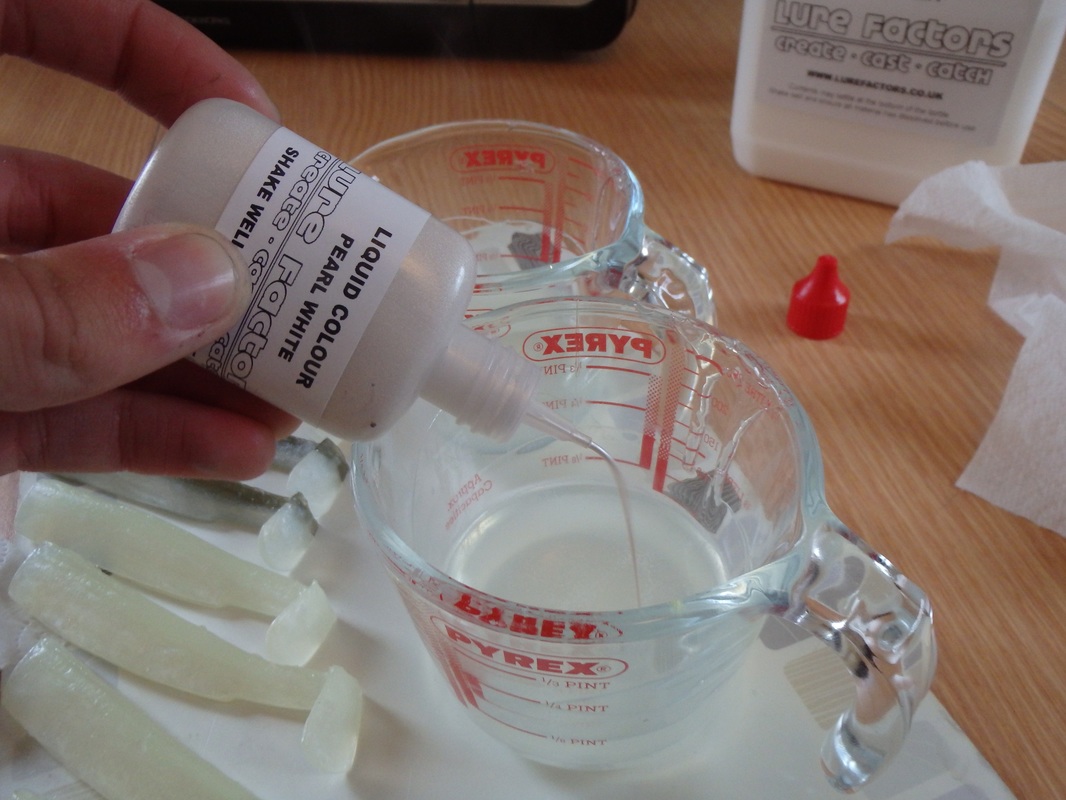
The plastic should now have been in the microwave for 2 minutes and be fully molten. CAUTION - the jugs will now be very HOT. The handles should only be warm but the bases of the jugs and their contents will burn so be careful if you are not wearing heat-resistant gloves. The molten plastic should be clear without any lumps or white grains. If it isn't then give it short 10 second blasts until it is ready but be careful not to over do it.  It is now time to colour your plastic. I am making various colour Split Belly Shads and am using Pearl White for the bottom of the body and various colours for the top. Give the bottles a good shake before use. 5-6 drips of liquid colour will colour the molten plastic but for a more intense and opaque lure add a good squirt of colour. 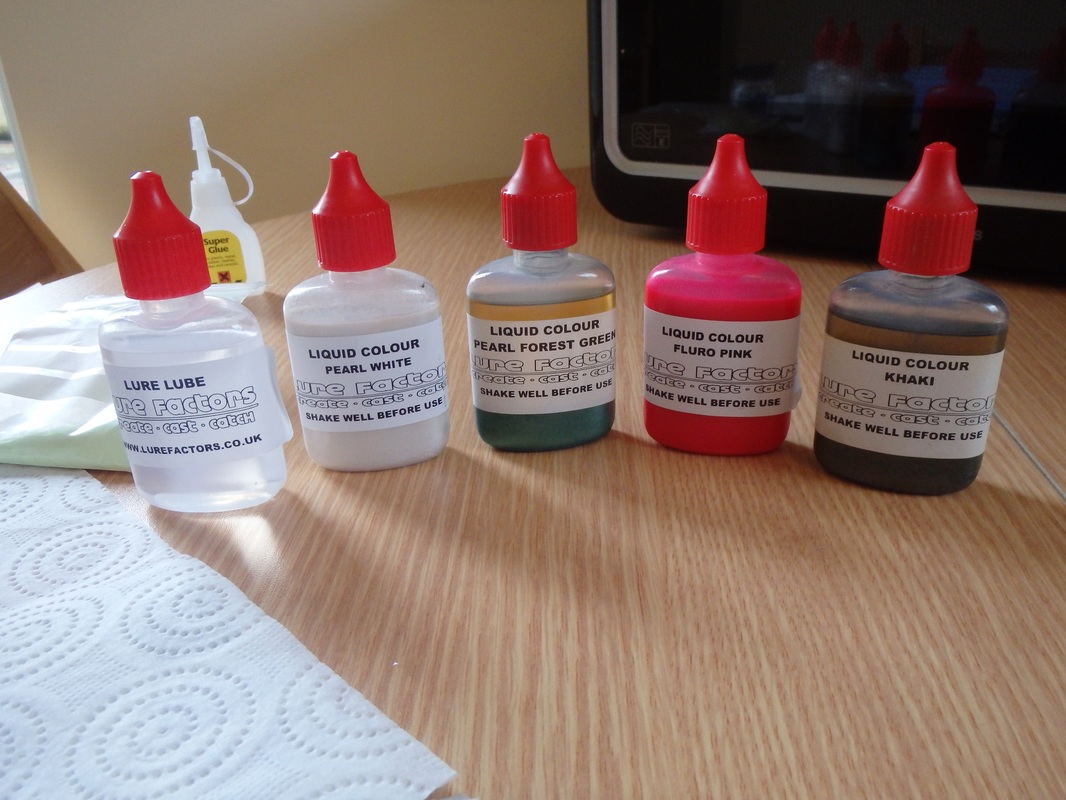
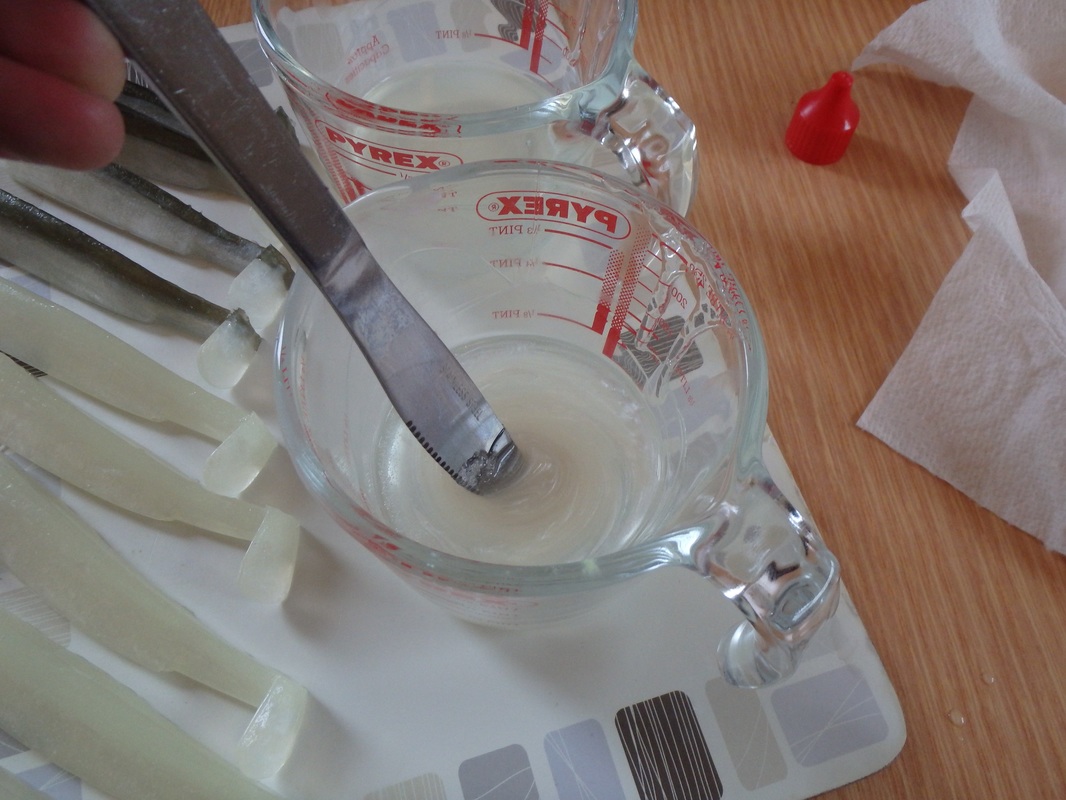
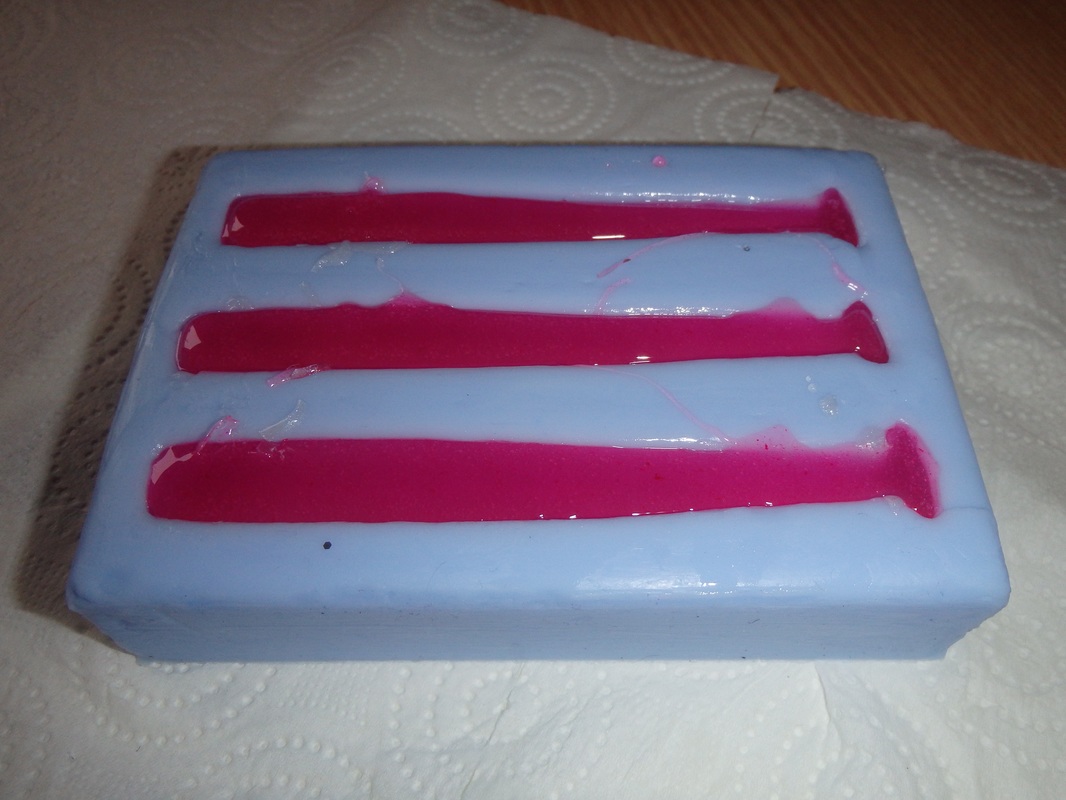
Stir in the colour until it is evenly distributed within the plastic. It is handy to have some kitchen roll to wipe the stirrer between using in each jug so you don't mix colours. Alternatively use two separate stirrers. 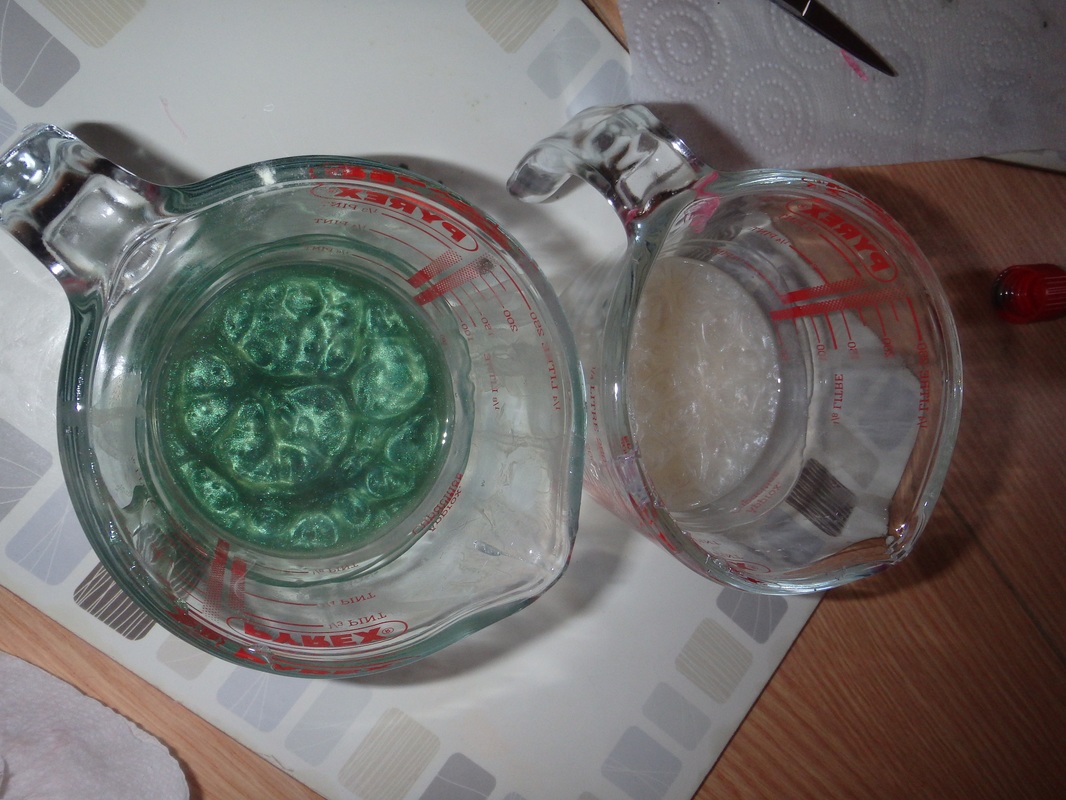 It is time to pour! Start with the white and pour gently and slowly, filling around half the mould. Make sure you get some in the paddle tail section. 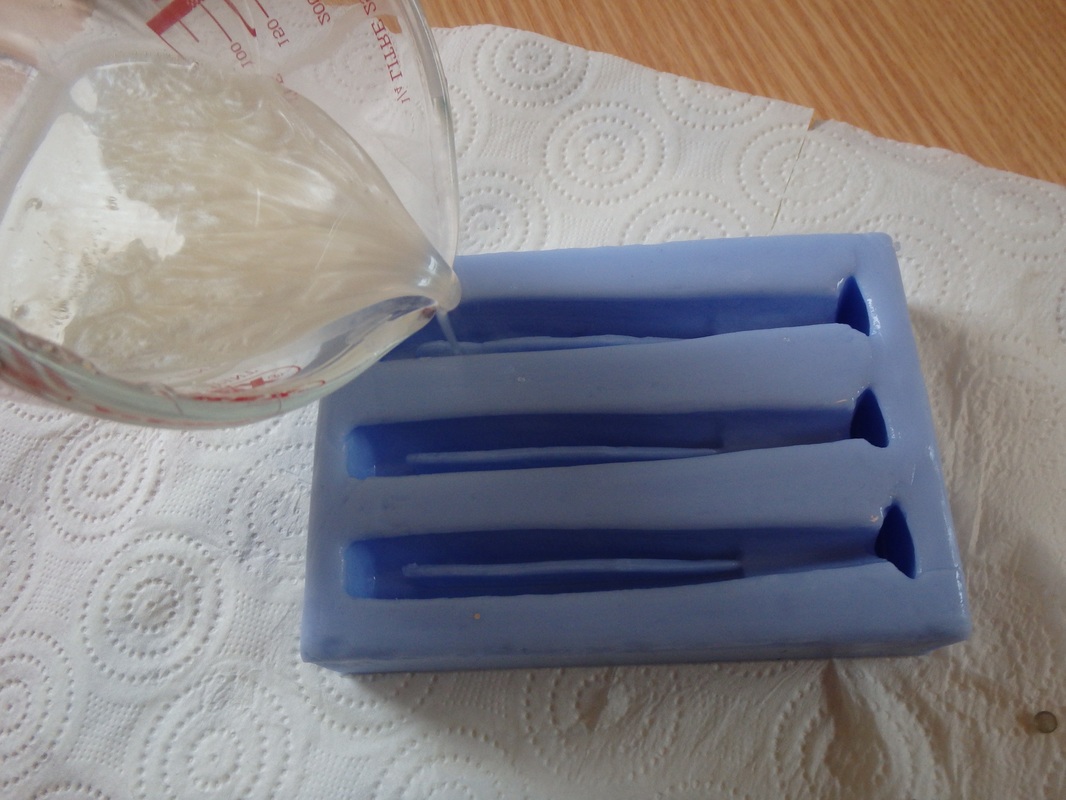 Now take the second colour - Fluro Pink in this example - and slowly pour over the white layer. Do not pour in one spot as it will push the white away and result in uneven colouration. Instead pour a thin layer quickly over the surface of the white layer and continue this up and down the well until it is all but overflowing. 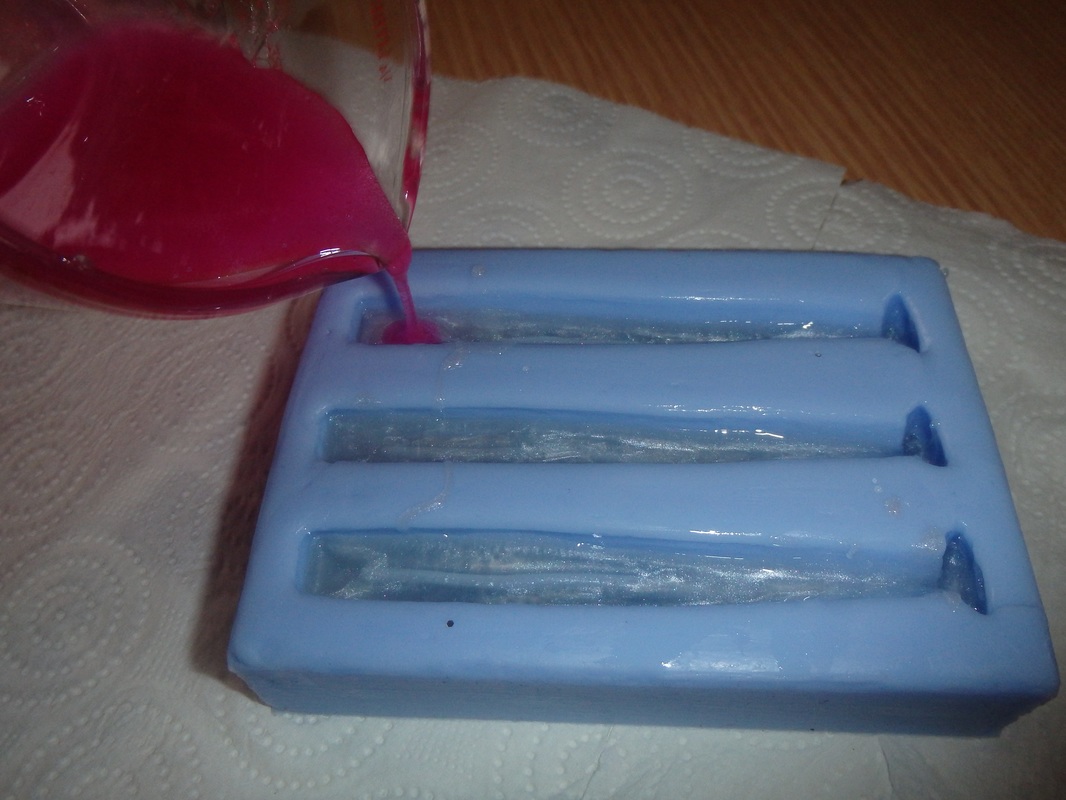
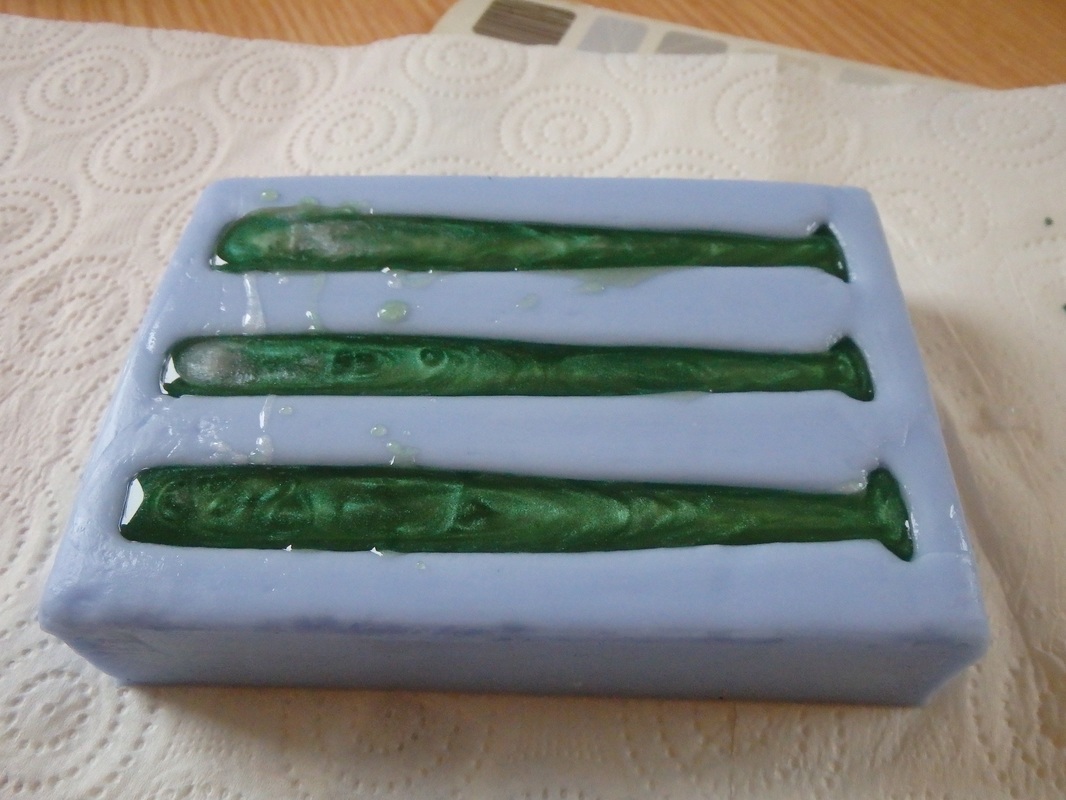
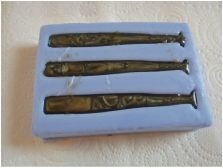
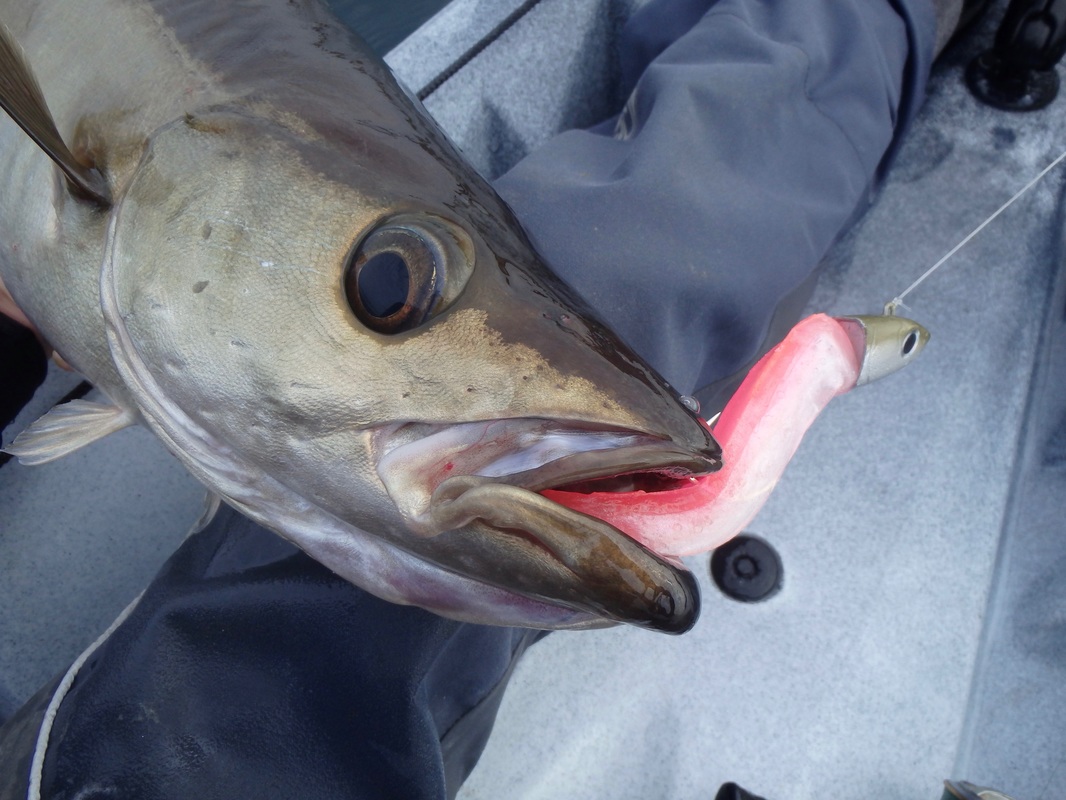
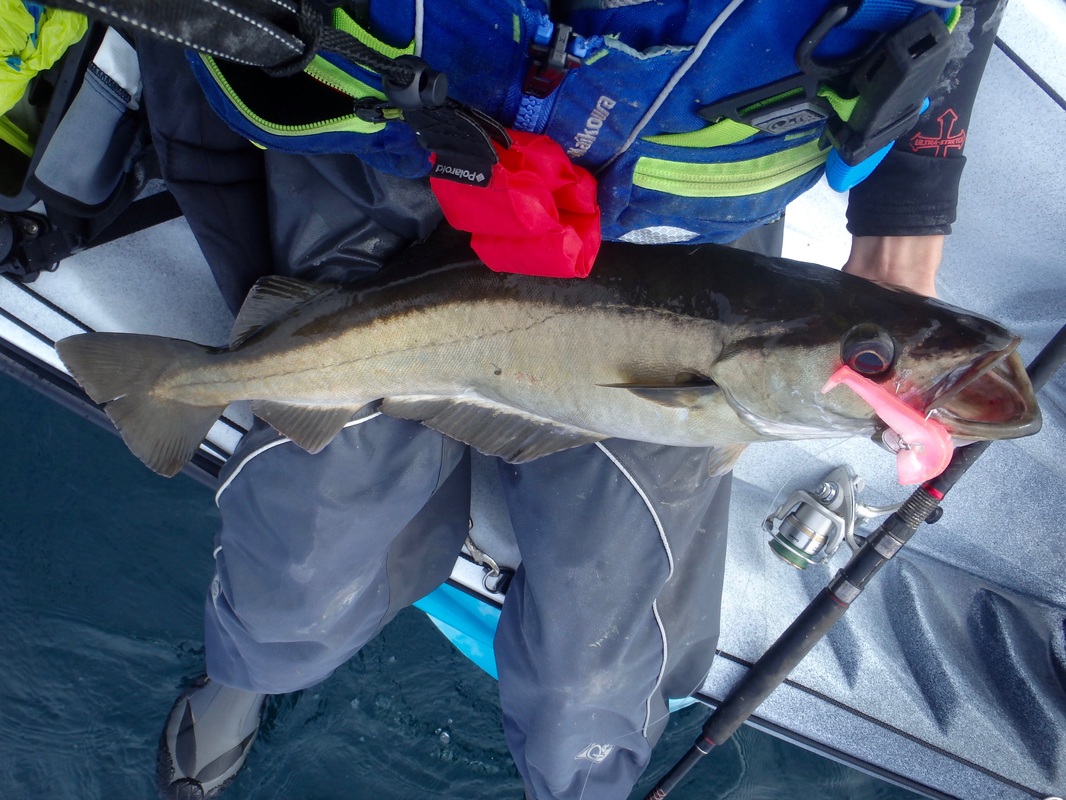
Leave for 5 minutes for the plastic to cool and set. You can check on progress by blowing in top of a lure to see if the liquid plastic has fully set. Once they are set, gently pull the lures from the mould and transfer to the cold water to cool them down. 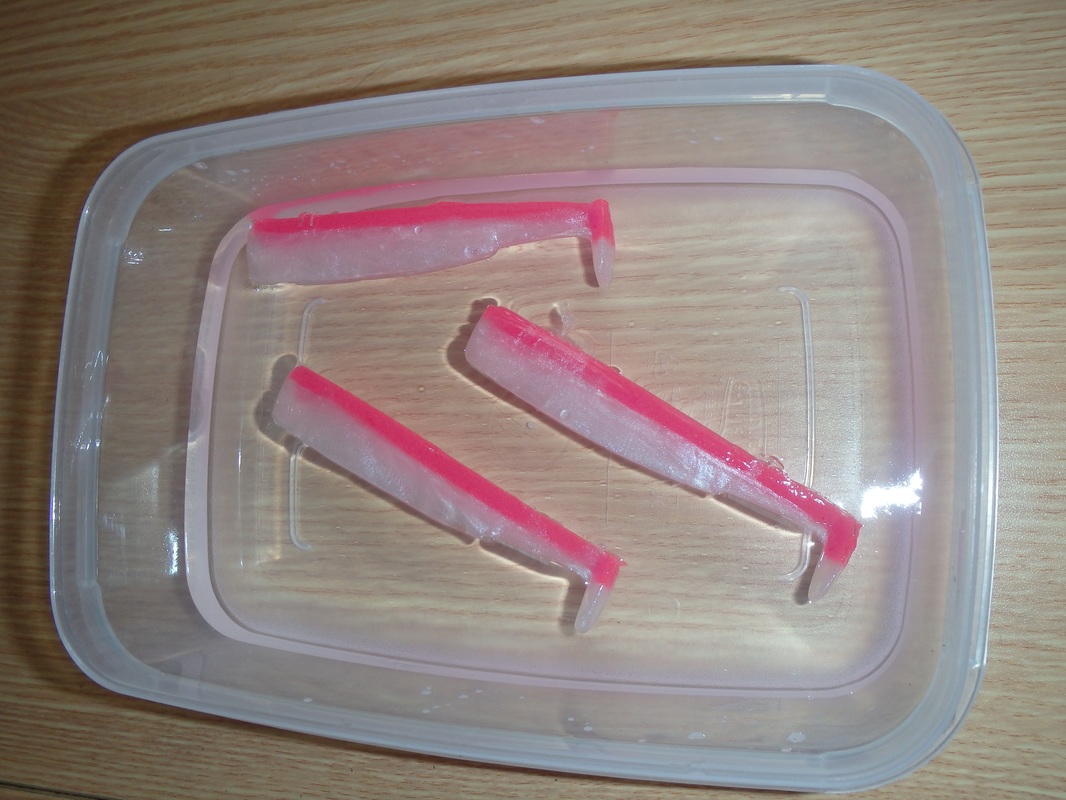 These can now be left to cool whilst you make another set of lures. The plastic in the jugs will have also set. Re-melt by placing back in the microwave for 30 seconds, stir then blast a further 10 seconds if needed. Lube the mould again and pour some more lures! Now whilst these are cooling for 5 minutes you can put the finishing touches to the first batch. NOTE: take caution when re-melting plastic that contains glitter - metal based glitters may cause sparks, if this occurs do not re-melt the plastic! Take them from the water and dry on some kitchen towel. Use a pair of small scissors to trim any surface flashing that may have occurred during pouring. The Finished ProductYou now have Split Belly Shads that are similar to Fiiish Minnow 140 bodies! Khaki liquid pearl colour was used to make this one which I'm calling a 'Khaki Pearl Back' Minnow.... 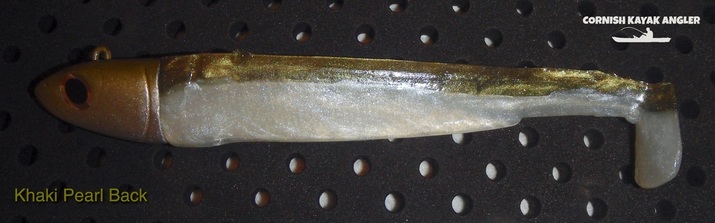 I used the Forest Green liquid pearl colour to create a 'Forest Pearl Back' Minnow..... 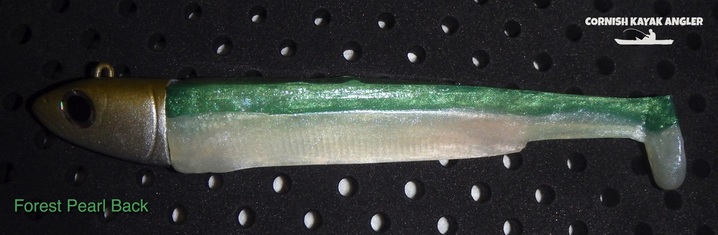 Fluoro Pink liquid colour was used to make a 'Pink Neon Back' Minnow..... 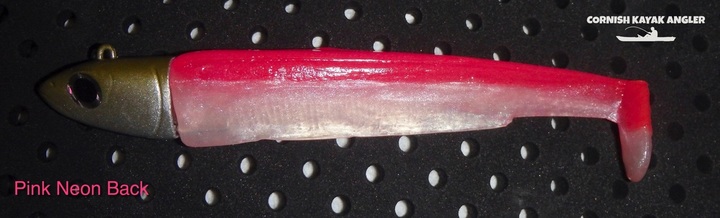 I added a good sprinkle or two of silver string glitter to clear molten plastic to create this 'Glitter Back' Minnow.... 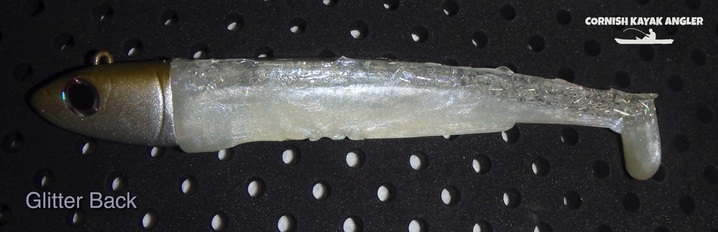 and for my personal favourite..... a 'Nuclear Lemon Back' Minnow..... 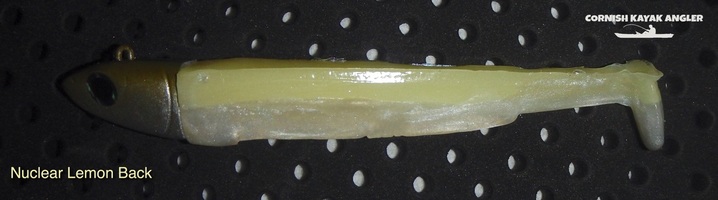 Why is it called a Nuclear Lemon Back?..... take a look in the dark! 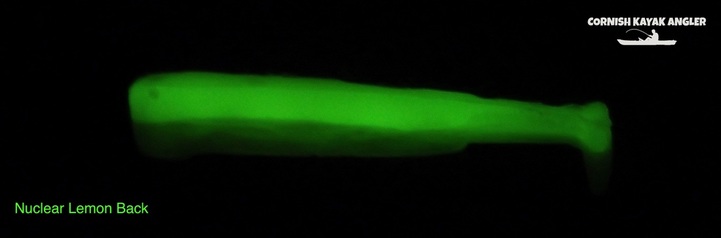 That one was created using about 3/4 of a level teaspoon of flexiglow powder mixed with 50ml of clear molten plastic. The more powder you use the more it will glow! It doesn't take to long to make up a decent batch of bodies. You will find that you will be left will a small amount of plastic in the jugs. Once this has set, peel it from the jug and save this for another time. You can chop this up and re-melt it. Experiment with colour combinations and find a pattern that works for you. CostThe Fiiish Minnow bodies retail at around £5 for a pack of 3. So how much did it cost me to make the Split Belly Shad lures? The split belly shad mould, 1 litre of lureflex, 4 liquid colours, a pack of flexiglow, a pot of string glitter, 2 pyrex jugs, lure lube and the bargain car boot special microwave set me back around the £75 mark. This may seem expensive at first but the only item i will need replenish anytime soon is the lure flex plastic as the colours and additives will last ages. 1 litre of lure flex has made around 55-60 Split Belly Shad bodies. That many bodies of the similar Fiiish lure would cost around £95 to buy! I only now need to spend another £10 for 1 litre of Lure Flex to make another 55 or so bodies. I will soon be saving money and in years to come the individual cost of each homemade body will have come down to pennies. Practically all the materials, expect the microwave, are available from www.lurefactors.co.uk Do they work?YES! 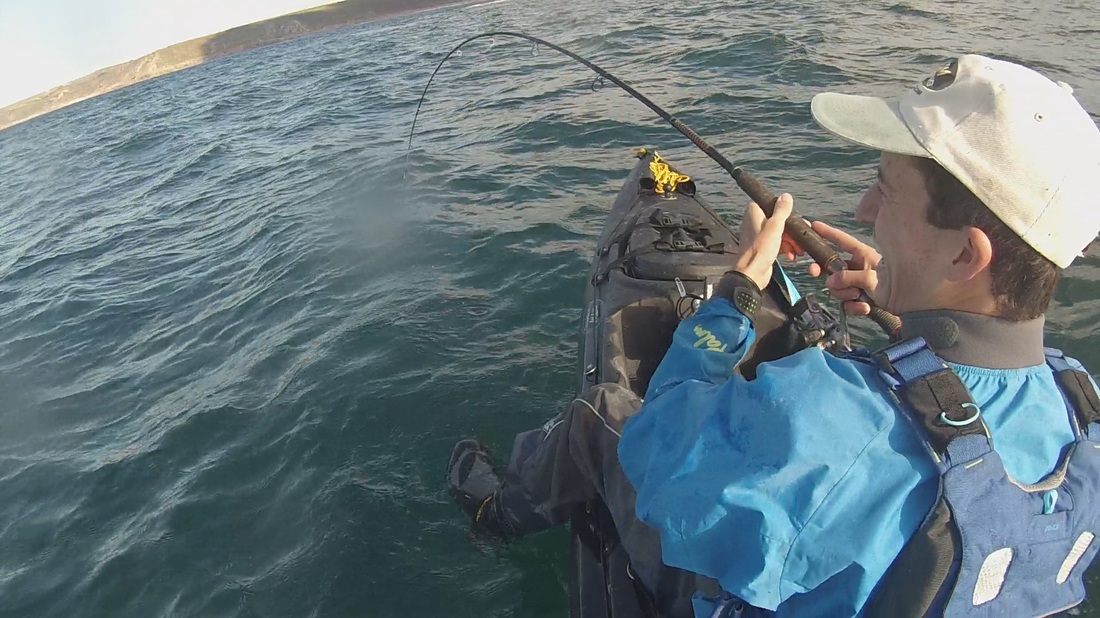 This Pollack was hungry for a Pink Neon Back 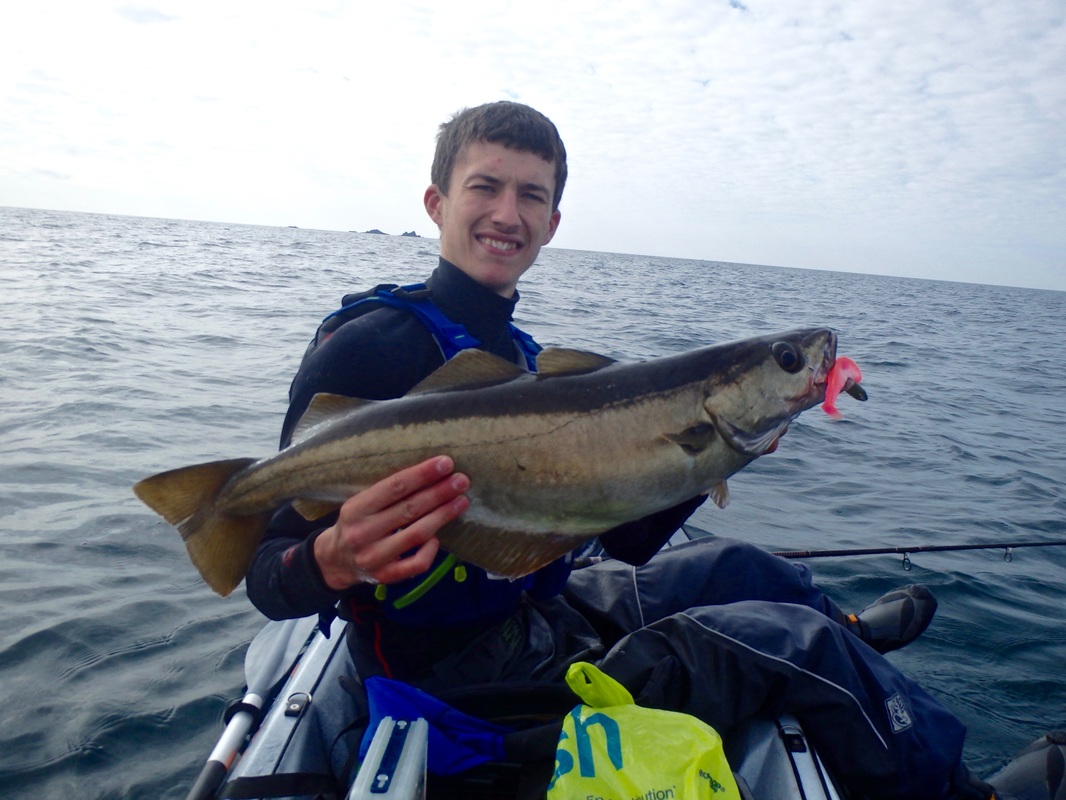
Whats that back there?.... Oh its a Forest Pearl Back! 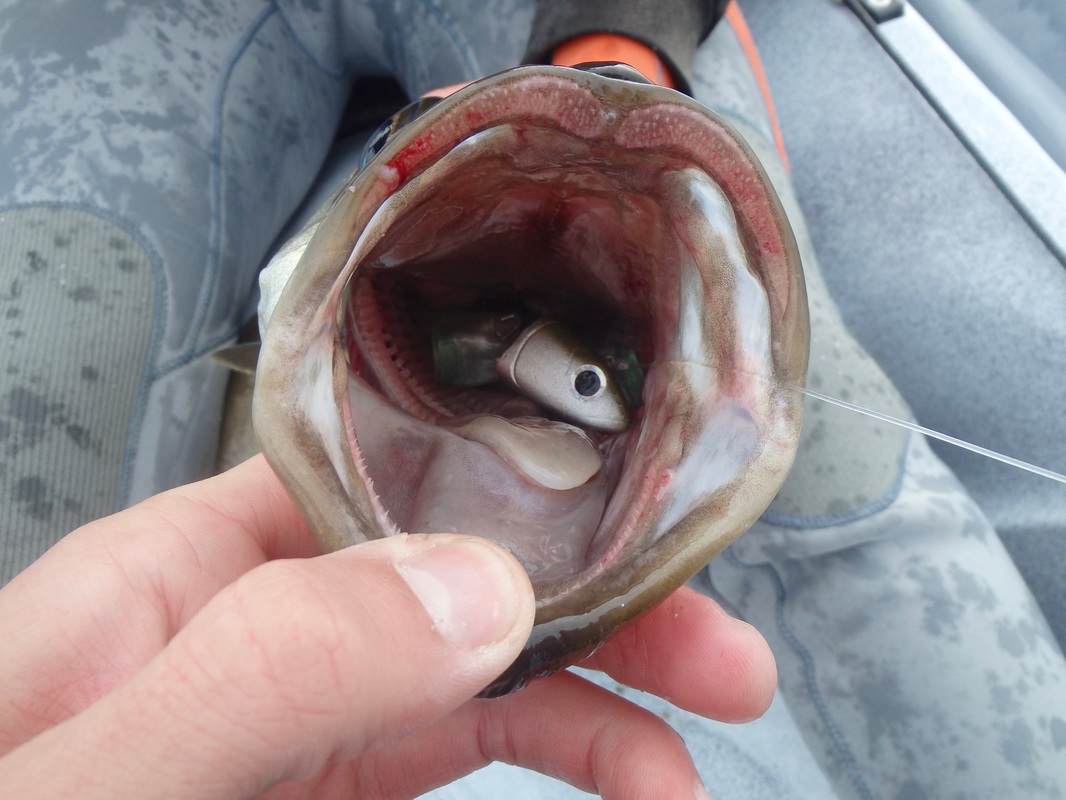 The Nuclear Lemon Backs work well too! 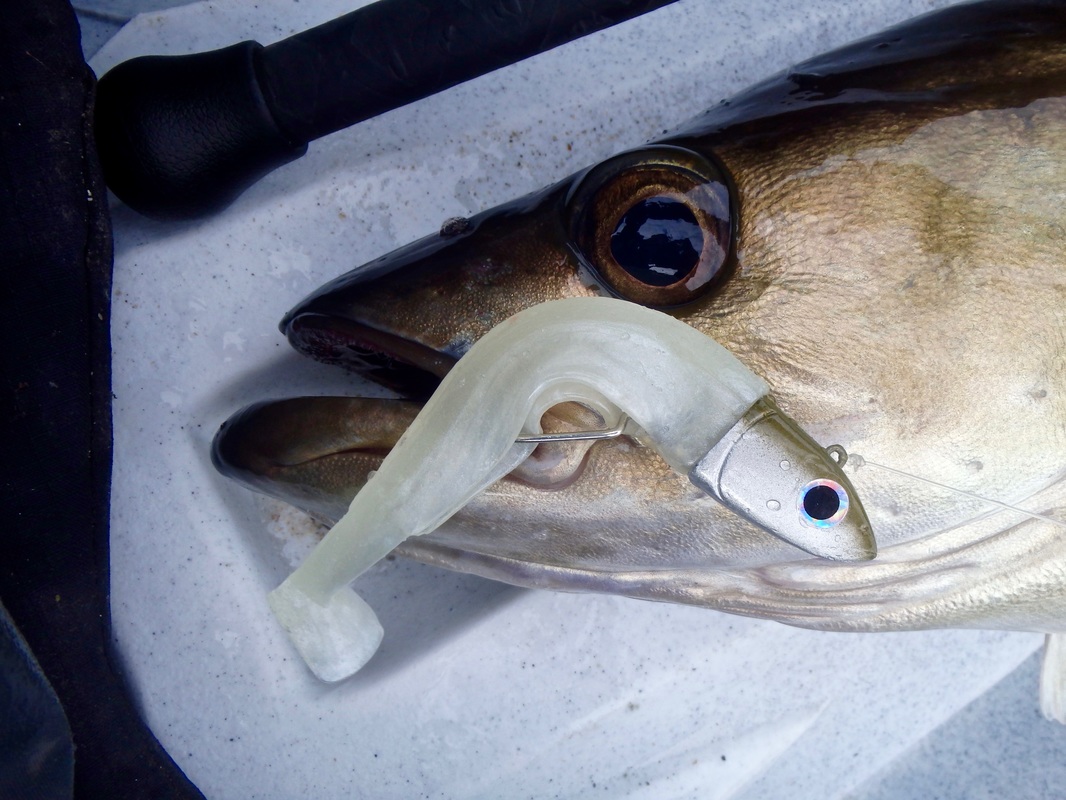 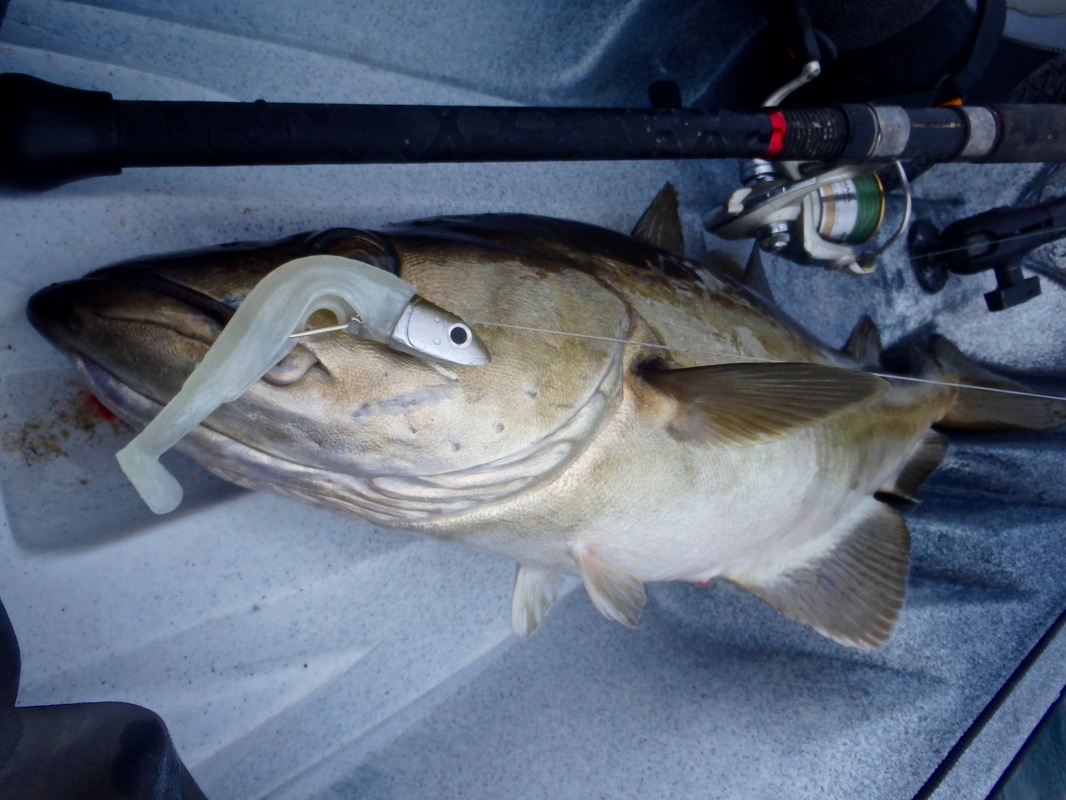 The Wrasse like them too. This one nailed a Khaki Pearl Back.... 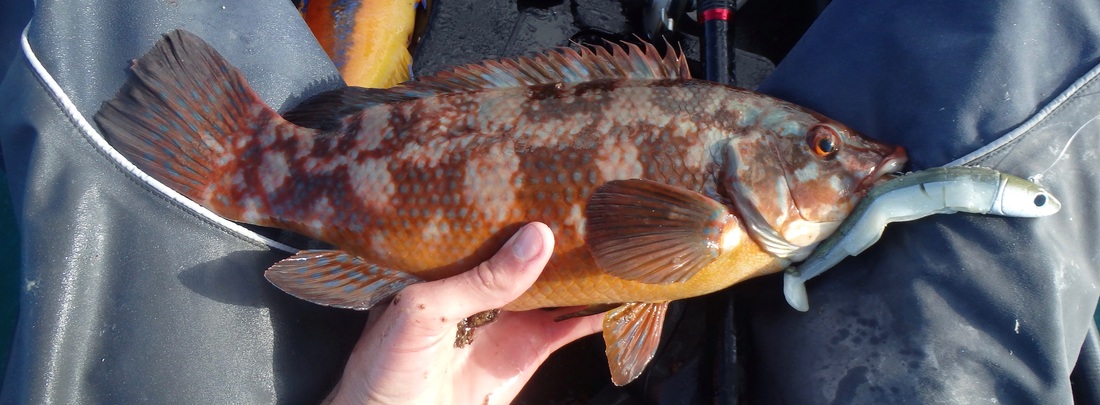 The Lure Flex 'Soft' grade is slightly tougher than the plastic used to make the similar lure made by Fiiish. I expect the lure flex 'super soft' grade is even closer to the real thing but after using the ones i have made from the soft grade i found them to be more resilient to being munched to pieces. The tails seemed to last longer although the odd one got bitten off. Once the bodies are superglued to the head they make a pretty tough, weedless lure. The next step is to make Jig heads for the Split Belly Shad bodies - Part 2 will be coming soon! 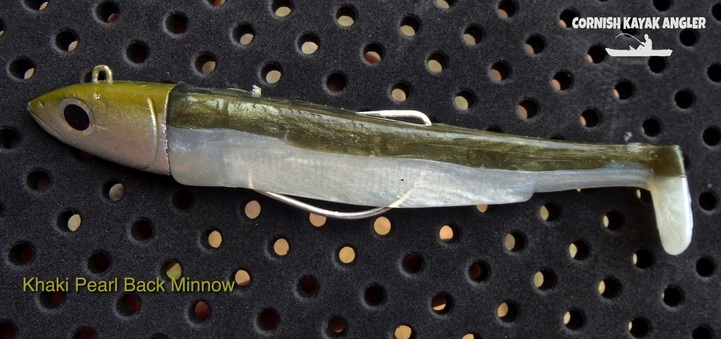 Comments are closed.
|
AuthorLiam Faisey 
My Tackle Shop
SPONSORS
Proudly associated with

Cornwall's only specialist kayak fishing shop
Archives
March 2023
Categories
All
Add my blog to your feed reader by clicking the button below
Get blog updates via email
Kayak Fishing Videos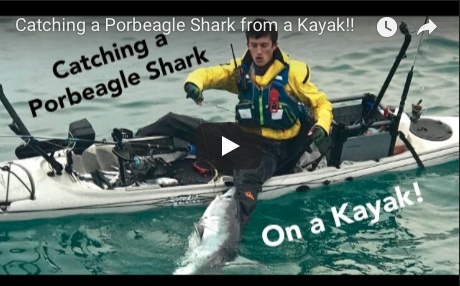
Custom feed reader powered by FeedWind
Useful Links
Anglers Afloat
Cornish Shore & Kayak Fisherman Cornwall Canoes Palm Equipment Penzance Kayak Fishing Meet Info Saltwater Kayak Fisherman Magic Seaweed XC Weather 
|

 RSS Feed


|
|
Website powered by pasties and the hope of good weather!
© 2023 Liam Faisey
© 2023 Liam Faisey